Yes, I know, it's the American way, but I am not so sure that this truism holds water for larger scale FOW battles. I tried a ~10,000 point River Rush mission over the holiday break. While visually it was pretty awesome, it turned into a huge attrition match that expended our attention faster than the
Panzers involved. In the end both players cried "Uncle!" and called it a draw, though I think the British were winning when we called it off. We played on the standard 6' x 8' table. The Brits threw a full 7th Armoured Division Cromwell Armoured Company, Motor Company, Lorried Infantry Company, a battery of Sextons and lots of support with MGs, ATGs, Achilles platoons and even Typhoons from the RAF. The Germans responded with a SS MK IV H company with Panther and Tiger support (even Michael Wittman showed up) as well as an SS
Panzergrenadier company with lots of support. It developed into a slogging match with little space for maneuver and lots of opportunity to blow up stands and tanks. This was fun, but too long to reach a decision. This might work well for a larger number of players but exhausted the two of us. Anyway, to spare the blow by blow account of an otherwise unmemorable fight, here are a LOT of pictures to start the New Year on a bang.
 |
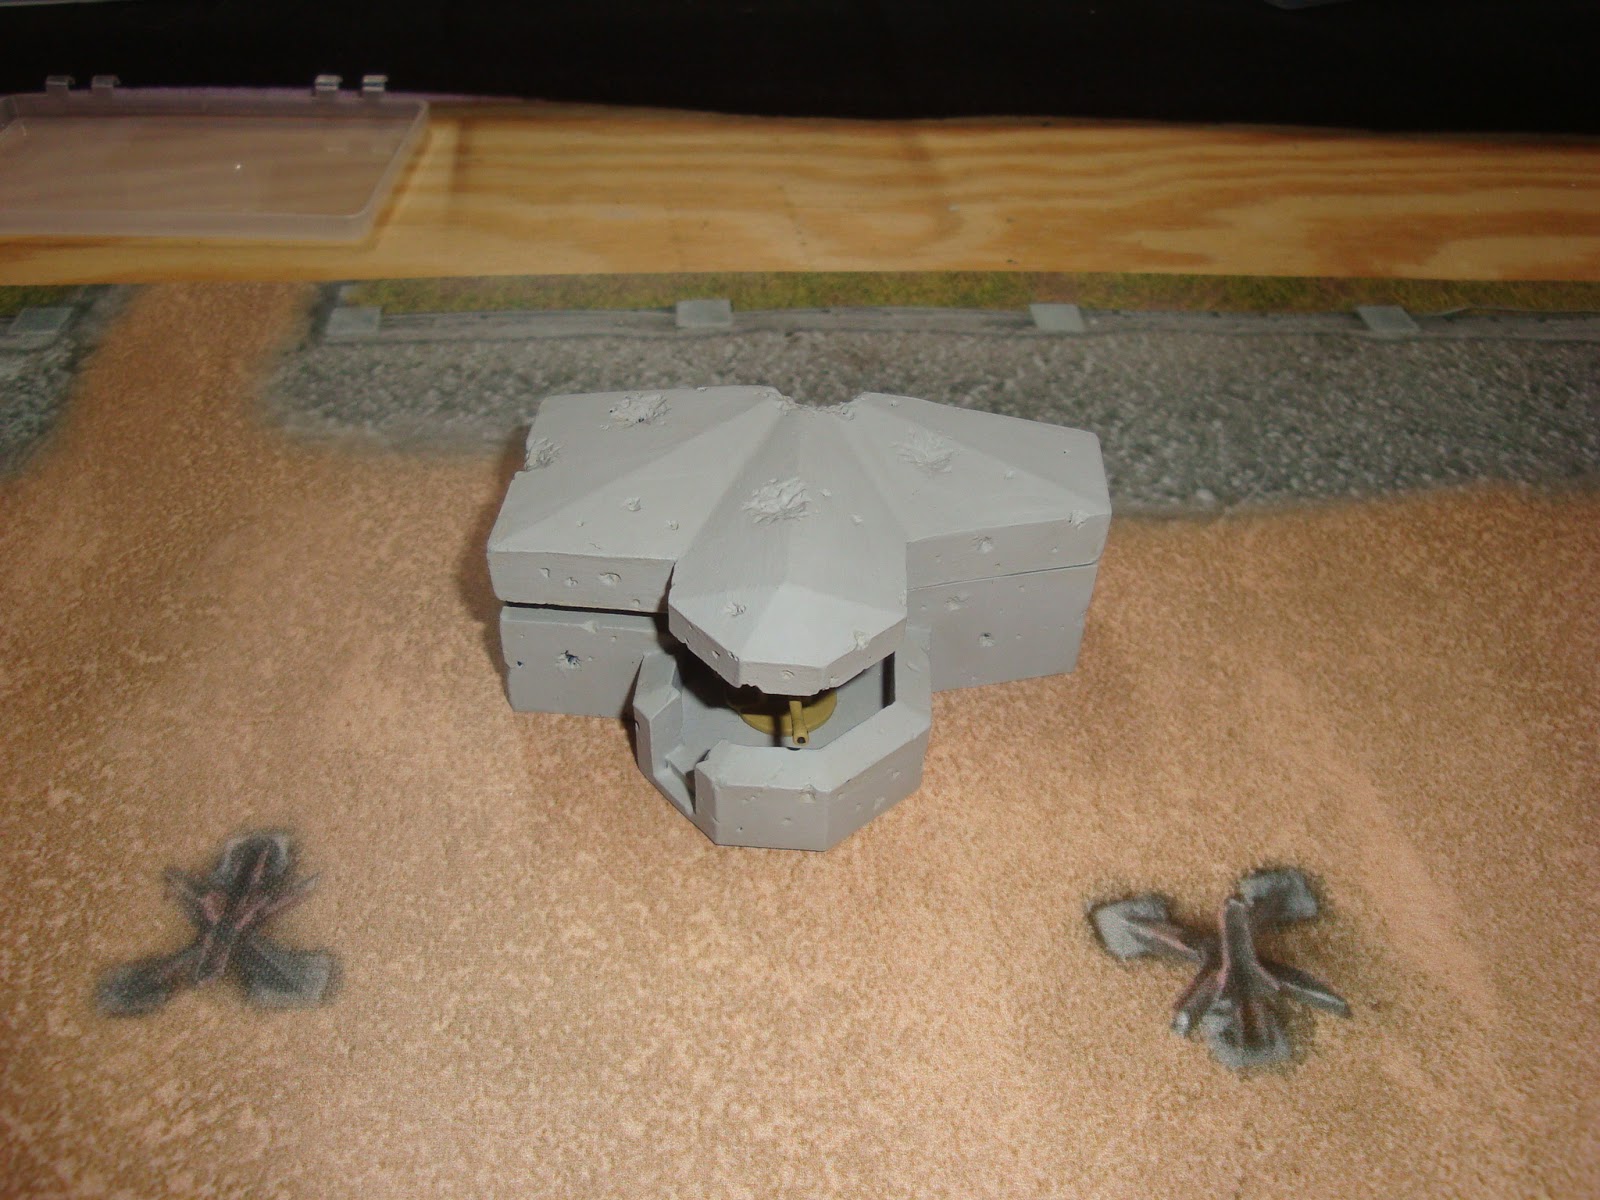
| The battlefield with the new Christmas present. |
 |
| The river complete with two bridges and a ford. |
 |
| The town with the abandoned Tiger I as an objective. |
 |
| Another objective near the farm complex. |
 |
| The Germans defend their new prized possession. |
 |
| A destroyed Marder IIIH is an objective. |
 |
| Fanatical FV SS Panzergrenadiers defend the bridge behind a small ridge. |
 |
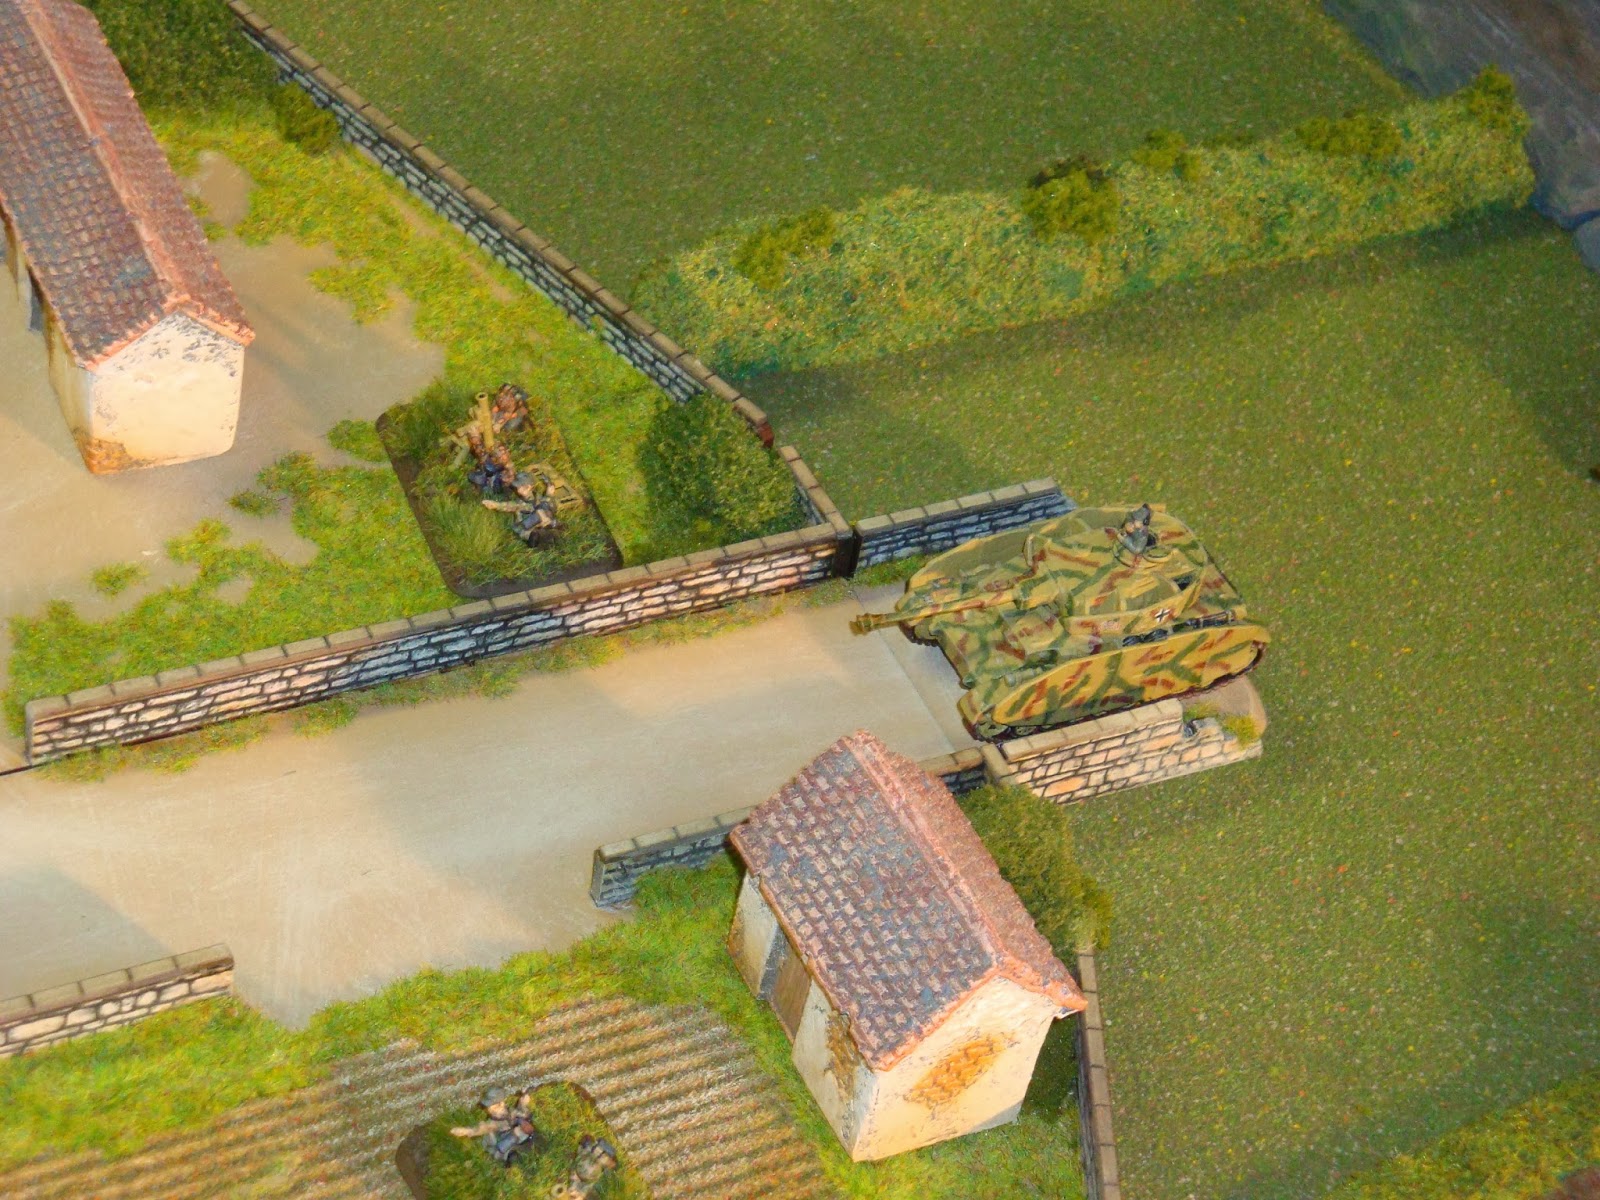
| Well camouflaged StuG IVs are hull down near the ford. Can assault guns be hull down? |
 |
| Germans dig in deep awaiting the expected British offensive. |
 |
| A 15 cm Grille section is ranged in on the river. |
 |
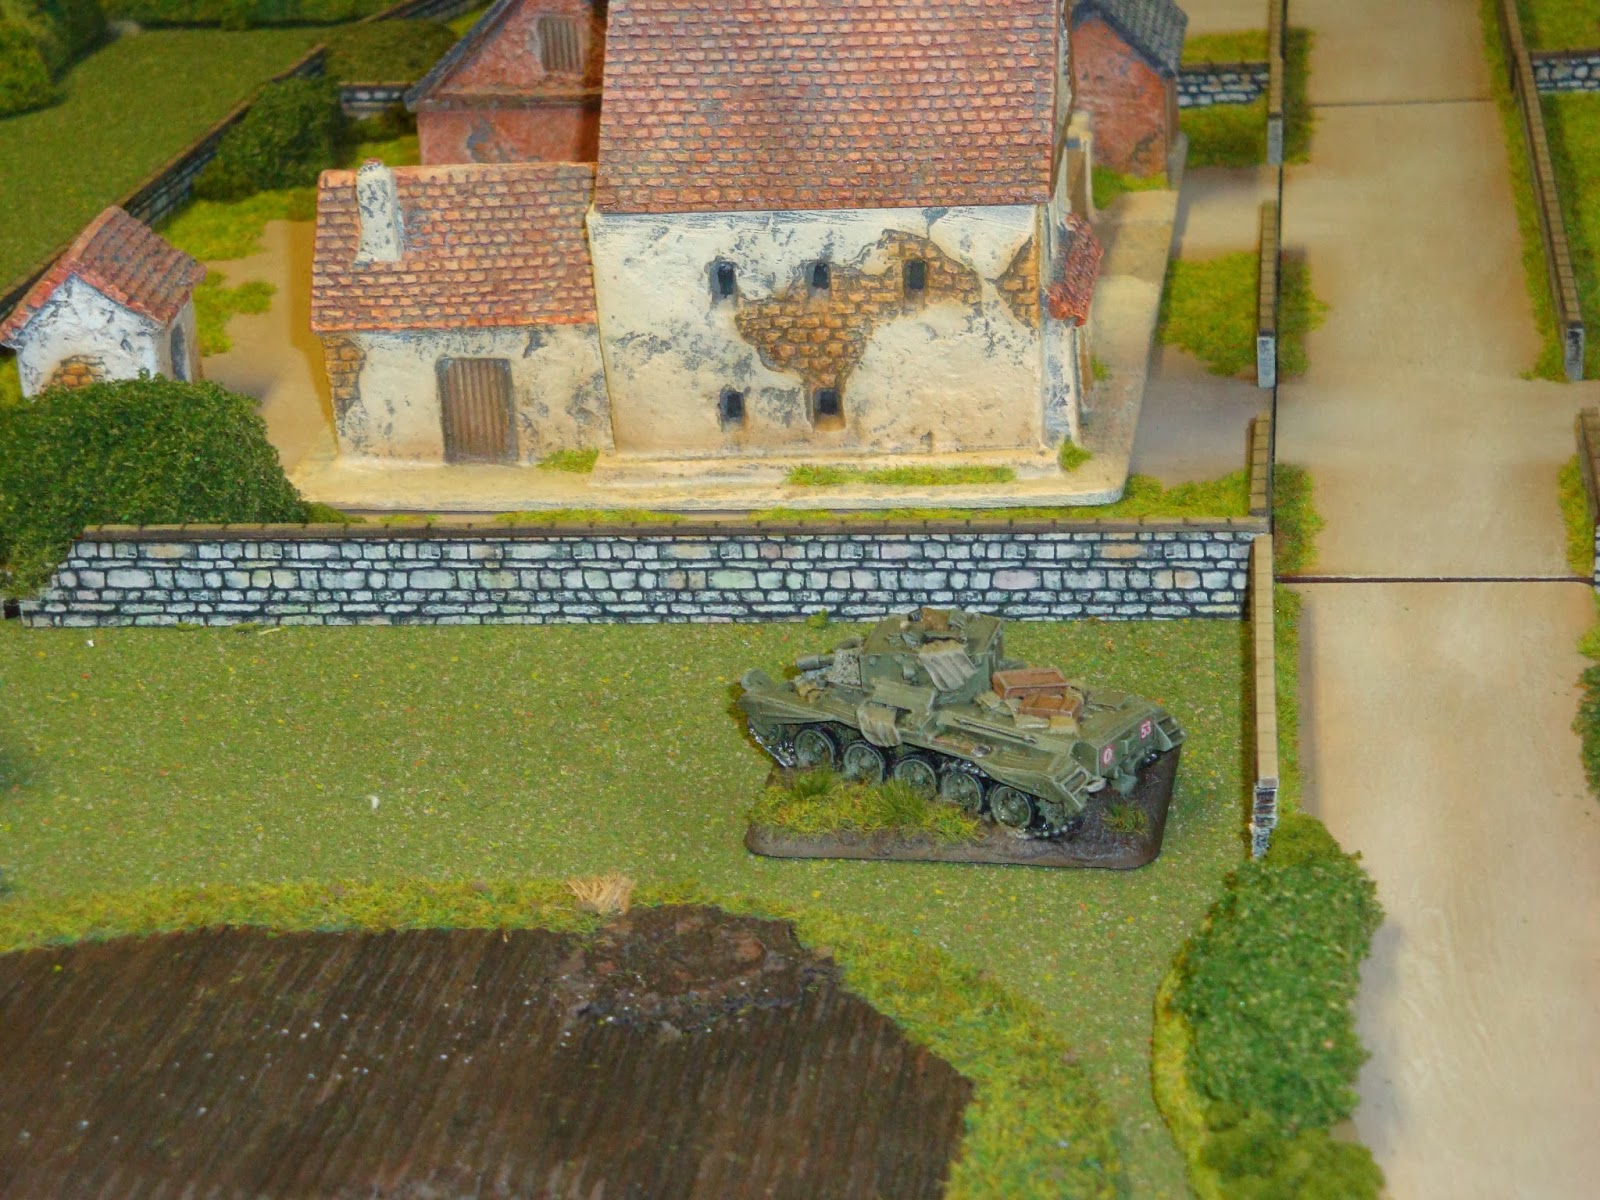
| Another view of the farm complex. It is pretty neat! |
 |
| A panzergrenadier platoon defends the town. |
 |
| The Company commander considers his options. |
 |
| The 2iC has the mission of defending the farm complex with the help of a mortar platoon, a pak 40 platoon and incoming reinforcements. |
 |
| The 7th Armoured Division assembles. |
 |
| Even the RAF wants to play! |
 |
| Recon elements of the Desert Rats approach the bridge while a stand of SS Panzergrenadiers prepares to blow it up. |
 |
| Bren gun carriers go first as they are the most expendable at the other bridge. |
 |
| Stuarts take the lead here. |
 |
| The first recon element is brewed up by German AT fire from the Stug IVs. |
 |
| The StuG IVs promplty stromtrooper behind the crest of the hill. |
 |
| The recon element survives the bridge crossing here. |
 |
| The ford is flooded with Tommies. |
 |
| Crusader AA tanks show that 20mm fire is no substitute for better side armour. |
 |
| Recon elements spread out at the lower bridge. |
 |
| RAF Typhoons strike Tiger tank reinforcements and achieve nothing except looking very neat. |
 |
| Herr Wittman himself dodges the first rocket strikes. |
 |
| With 5000+ points of RV Rats, it takes a while for everyone to move through the choke points of the bridges and ford. |
|
 |
| More British cross. |
 |
| The ford is well used as well. |
 |
| Valiant German AT gunners prepare to fire. |
 |
| Panthers come up to help the defenders. |
 |
| Panzer Mk IV Hs add to the farm complex defense. |
 |
| A large traffic jam at the stone bridge is difficult to unjam. |
 |
| A Panzer Mk IV H crosses the fields towards the farm complex. |
 |
| The RAF hits the Panthers with similar lack luster results. |
 |
| . . . but it does look neat, and 10,000+ points is all about looking neat. |
 |
| More Panzer Mk IV Hs are better. |
 |
| The SS panzergrenadiers retreat back to the farm complex. |
 |
| Another really neat looking (but ineffective) RAF attack. |
 |
| StuG IVs prepare to fire. |
 |
| "Run away!" The SS panzergrenadiers reach the farm walls. |
 |
| The British flood across the ford. |
 |
| The Tigers patrol the town streets. |
 |
| The British storm across the stone bridge. |
 |
| British recon carriers are expendable. |
 |
| The British mass looks unstoppable. |
 |
| Another SS Panzergrenadier platoon decides to retreat back to the town under the barrels of the Tigers. |
 |
| Panzers swell the farm complex defenders. |
 |
| British armour cautiously move forward. |
 |
| Stuart recon tanks probe forward. |
 |
| A panzer buys the farm. |
 |
| Things look pretty balanced at this point. |
 |
| The Stuarts don't last very long. |
 |
| German tanks are packed in the center of the table. |
 |
| British counter fire kills a couple of Panzer Mk IV Hs. |
 |
| At the cost of a Firefly. |
 |
| British infantry show some dash. |
 |
| There are a lot of Tommies crossing the river. |
 |
| The RAF attacks the Tigers in the town. Air attacks destroyed a total of one Tiger during the entire game. |
 |
| Another Panzer Mk IV platoon adds to the town defense. |
 |
| British gunners probably killed as many German stands as any other platoon. |
 |
| The initial tank fire kills a bunch of Cromwells and Panzer Mk IVs at the farm complex. |
 |
| We used so much of the red flame Cotton that we ran out of it. Here three Panzer Mk IV Hs burn while the pak 40 gunners have already been destroyed. |
 |
| The center is saturated with German tanks and assault guns. |
 |
| The Grilles do their damage but poor siting of the Forward Observers hurts the German defense. |
 |
| The Grilles do cover the last objective. |
 |
| Grille section CO and transport. |
 |
| More carnage as the British try to mass forces to attack. |
 |
| Even the ever valiant Shermans of the 13/18 Hussars are committed to the offensive. |
 |
| The RAF bail out a Tiger. Yawn . . . |
 |
| Another view of the mounting casualties at the farm complex. |
 |
| Fianlly! The RAF kills a Tiger! |
 |
| You could put more tanks in here, but not that many. |
 |
| The British mass at the lower bridge. |
 |
| German tanks brew up. |
 |
| British tanks brew up. |
 |
| The Company Commander sends the Cromwell support tanks up to shoot up entrenched German HMG teams that just shot up a motor platoon. |
 |
| The Tigers come out of the town to play. |
 |
| More destruction but from a different angle. |
 |
| British six pdr ATGs move up to the wood line and kill a couple of StuG IVs. |
 |
| British tanks and infantry move across the fields towards the farm. |
 |
| 13/18 Hussars shoot it out with the remaining Panzer Mk IV H defender. |
 |
| "To the Green Fields Beyond!" |
 |
| Another view. |
 |
| Panthers and Panzer Mk IVs hold the center. |
 |
| Another Panzer Mk IV H is killed. |
 |
| German tanks leave the town to put pressure on the other British flank. |
 |
| Herr Wittman leads the FV Tigers. |
 |
| More German attrition at the farm. All the ATGs are gone, the infantry has been whittled down from artillery fire and there are only a few Panzer Mk IV Hs left. |
 |
| An aerial view of the degraded German defenses. |
 |
| A Panther gets killed. |
 |
| British infantry brace to resist the German panzer onslaught. |
 |
| Meanwhile all is calm in the town. |
 |
| One of the last two Panzer Mk IVs waits at the farm. |
 |
| There are a LOT of British tanks to target. |
 |
| The remnants of the SS Panzergrenadier platoon rally in the farm house. |
 |
| The two Cromwell support tanks smoke as all of the red cotton has been used up. |
 |
| The German tanks bounce the British infantry on the flank as the pioneer platoon takes out a Panzer Mk IV H. |
 |
| Both sides culminate on the final picture of the battle. |
The River Rush mission is supposed to last a set number of turns. We decided to play until we got tired. We did. Unfortunately we culminated before a decision had been reached, though with both sides having lost about half of their total force, I would say the advantage was slightly on the British side. I think you need more than two people to play this sized mission, just to keep things going. It took us over two sessions on two separate nights to reach culmination. Still, it really looked neat! And looking neat is half the battle.