This last attempt at the Sword Beach Scenario was my best attempt of all. I played did this prior to finishing off the DD tanks from the earlier posts so you won't see B Squadron of the 13/18 Hussars on the beach. Otherwise, I went for the German strong point right away with as much of the specialized armour that I could fling at it in the hope of taking out the dreaded German 88mm bunker as soon as possible. Once the COD strong point is taken, the entire British force would surge ahead to take the inshore objective at the SOLE strong point. I am planning of being able to use my better trained and motivated force to brush aside the less than excited
Ostruppen reserves and surge to victory. At least, that's the plan. As before, the British Priests are proxied Sextons and the M-10s are proxied Achilles tank destroyers.
 |
| A sunny June morning at strong point COD on the sleepy Normandy beach. |
 |
| The morning is shattered by the dawn bombardment which pins down the German defenders including the company commander at SOLE. |
 |
| The Brits aren't dallying this morning, going directly for the defenses at COD. The AVREs have one objective in mind: the dreaded 88mm bunker. |
 |
| Two AVREs don't get there as the 88mm scores. One DD tank comes ashore with the rest stuck out at sea. |
 |
| The burning AVREs should boost the German morale. |
 |
| Sherman Crabs and the pioneers and infantry move up to remove the German minefields while an AVRE gets within range of the 88mm bunker. German artillery ranges in. |
 |
| The AVRE scores and blows up the 88mm bunker! One Sherman Crab is brewed up but the other flails (is that a verb?) the corner minefield. The British M-10s land and another DD tank hits the beach. |
 |
| The German defenders are slowly whittled down by fire from the British invaders. |
 |
| The beach is a mess as always with bogged down vehicles and pinned down infantry. |
 |
| The German infantry zug finds that running away is a good idea as they rout after taking heavy casualties. The MG tobruks are still manned by valiant (if less smart) defenders. |
 |
| A British infantry platoon close assaults the 5cm Kwk bunker and destroys it. Things are going my way. |
 |
| More British infantry lands while the Priest half battery shells positions inland. |
 |
| British Sherman Crabs, DD tanks and M-10s get ready to take on the German anti-tank guns that haven't gotten the word to run away. |
 |
| Commandos assault the German tank turret bunker. These are pretty worthless though they do look neat. |
 |
| The British armour moves up to take on the German 7.5cm Pak 97/38 guns. |
 |
| A multi-axis attack is not a good thing (for the Germans anyway). |
 |
| Another view of the attack. |
 |
| Meanwhile the British infantry exploits off of the beach and moves inland. |
 |
| The German MGs take the British infantry under fire. |
 |
| The German anti-tank gunners stick to their guns! |
 |
| The German defenses start to collapse. The tank turret bunker is eliminated by the Commandos. |
 |
| A British M-10 is destroyed and another bailed out but the return volley from the British armour destroys 2 guns and routs the Germans. |
 |
| The German beach defenses have been routed with the exception of two MG tobruks at the rear of COD. |
 |
| More British forces land and push inland as another German minefield is eliminated. In the upper left hand corner the German reinforcements start to arrive. |
 |
| British infantry discover a German artillery observer in the upper story of a house at COD. |
 |
| Bren guns firing, they assault the steely eyed German stand. |
 |
| With the minefield and barbed wire down, the British infantry and armour push inland. Time is running out though. . . |
 |
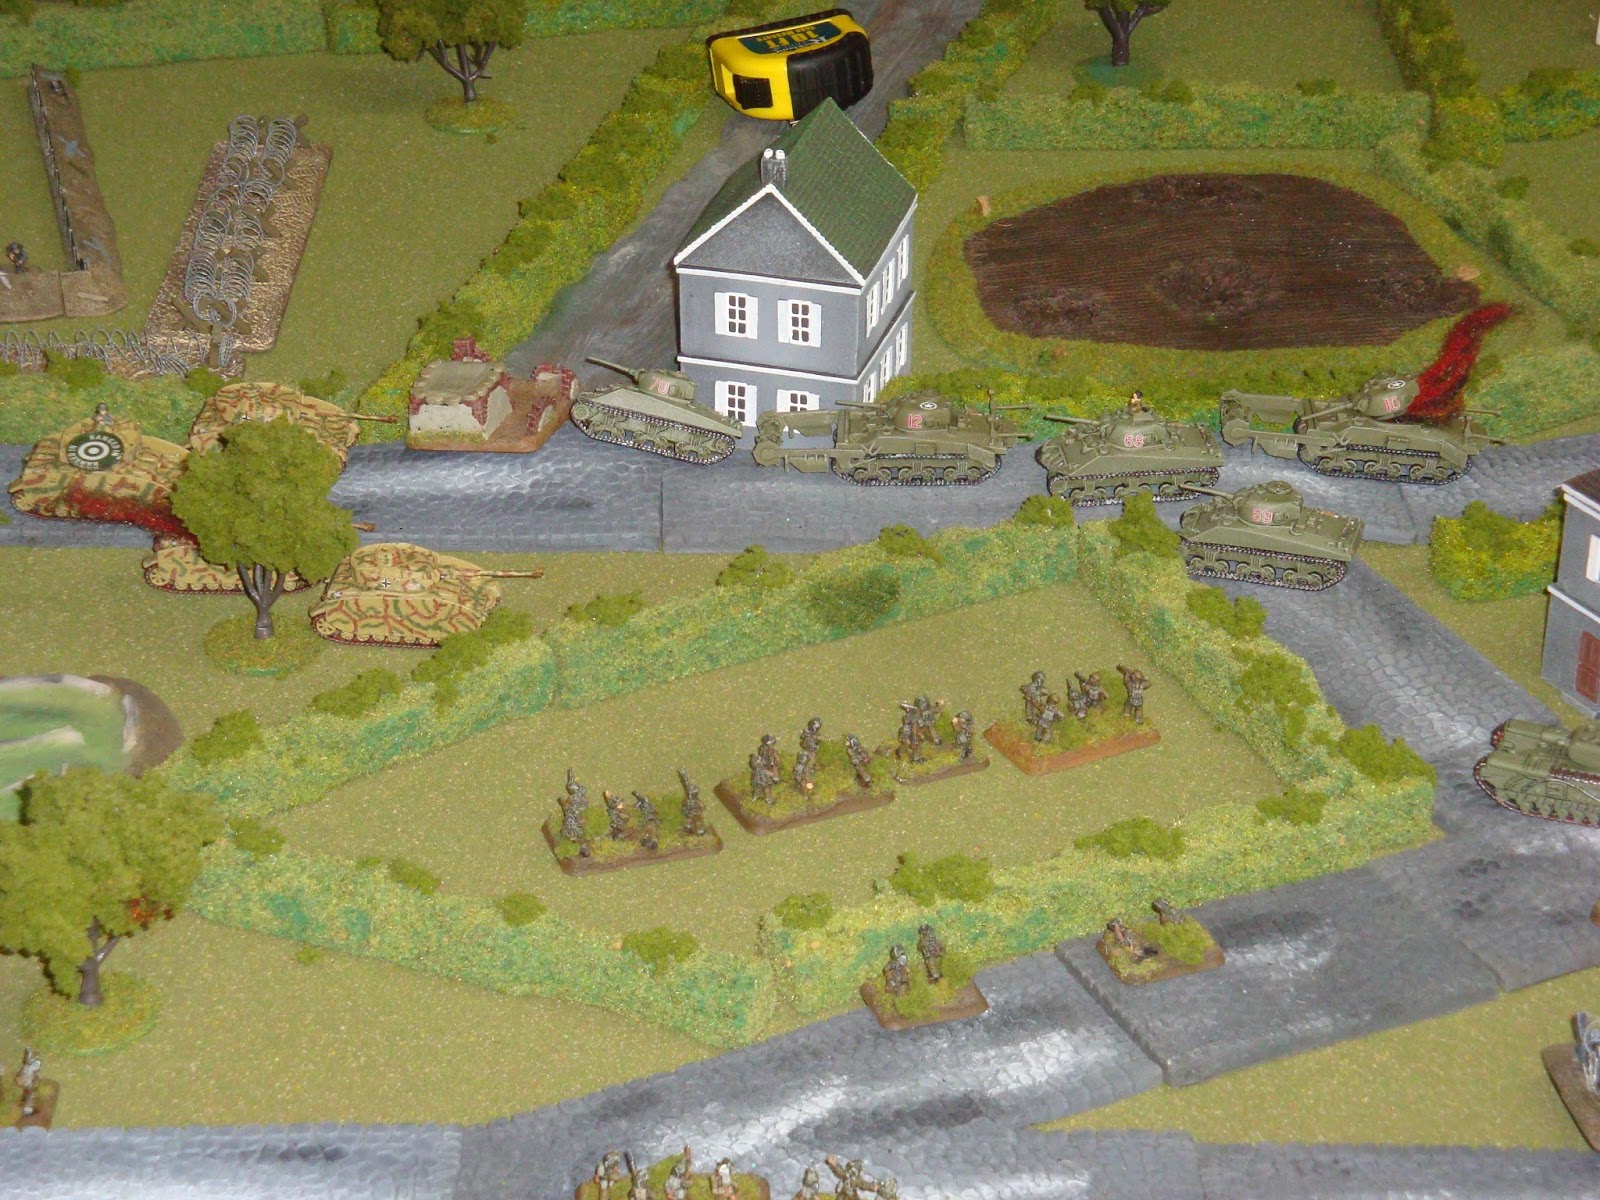
| German reinforcements are rapidly arriving including a Panzer Mk IVH zug from the 21. Panzer Division. |
 |
| One MG tobruk is destroyed. These are a pain to take out and delay the British push inland. |
 |
| German reserves deploy to stop the British offensive. |
 |
| The Mk IV Hs form line abreast to cover the remaining objective at SOLE. |
 |
| The British artillery lands to shell the Germans and pin them down. |
 |
| There are a lot of Germans here but are a mixed bag (Confident Trained regular infantry, Reluctant Trained Ost grenadiers and Confident Veteran panzers). |
 |
| The last MG tobruk is destroyed. |
 |
| The Germans use the bocage to cover their advance as the British artillery attempt to delay their movement. |
 |
| The new German defensive line looks formidable. |
 |
| There are a LOT of British forces moving inland though. Will it be enough as time runs out? |
 |
| A British infantry platoon and the Commandos test the German center. |
 |
| Armoured support, artillery fire and assaulting British troops are a tough problem for the hardy German infantry to handle. |
 |
| The Mk IV Hs hit a British MG carrier causing the platoon to debark. |
 |
| Return fire kills a few Ost stands adn routs that less than enthusiastic force. The panzers look fierce but have lost their infantry support. |
 |
| The Commandos assault the German hedgerow defenses and kill all of the defenders. Good work! |
 |
| With time running out, the British rush forward all of their remaining armour to attack the defending Mk IVs. One panzer is brewed up. . . |
 |
| . . . but there are still three left! |
 |
| The remaining German infantry in the hedgerow polygon eliminate the Commandos but are routed in turn by the British forces. |
 |
| A British M-10 tries to get a flank shot on the panzers. . . |
 |
| . . . and misses. The return volley destroys a M-10 and bails out another. |
 |
| A Sherman Crab is also lost to the German panzer fire. |
 |
| Tally ho! British tanks attempt to rush the last objective and also destroy the surviving panzers. |
 |
| The subsequent exchange is not effective. |
 |
| The panzers are bloodied but not broken and contest the objective at turn 12. The British have taken the Allied objective at strong point COD but not the Axis objective near strong point SOLE. This means the attacker only holds the objective placed by the attacking player and denotes a "Minor Defender's Victory." Blimey! |
Well! This is a day. Once again the Germans have eeked out a win, though this time was the closest of all of the times we played. The scenario is certainly challenging for the British even with the specialized armour and overwhelming forces. The confusion of getting off of the beach is not to be minimized in planning purposes. I think I spent too much time taking out the MG tobruks at COD when I should have been pressing on to the second objective at SOLE. Bringing the artillery in earlier may have been a bit more helpful. These are minor points though. The plan to go straight for the objective at COD by taking out that strong point is a better plan as it takes out the 88mm bunker as soon as possible. The German artillery can delay the British but that bunker can be deadly. I did roll pretty well throughout the game, as evidenced by the numerous frowns and remarks by my opponent. Even so, at the end it was not enough.
The scenario writer did a good job creating this one. While the Germans take a lot of fire and losses they can still delay the British and earn a victory. The scenario is a good one and gives one the flavor of the D-Day landings. I encourage anyone to play it. Monty would want you as well.