Saturday, September 18, 2010

Building Villers-Bocage

As mentioned previously on this blog, I have been building up the forces and terrain to run the The Battle for Villers-Bocage scenario in the Battlefront book Viller-Bocage. While my son and I have just about finished painting the forces for the scenario (I still have some Panzer Lehr motorcycle stands to finish), the number of houses for this scenario is daunting. I set up all the houses I have built/acquired to far to get a sense of what I have left to purchase and paint. It is a good start, but I have a way to go.

Most of the houses are made by Musket Miniatures,
http://www.musketminiatures.com/, which I think are the best available and fit many FOW size stands. They are somewhat expensive and do require a fair amount of effort to paint well. This pays off, but given my painting speed, is a small problem.

Other buildings are from Crescent Root,
http://crescent-root.com/,
which are very good and come painted. Alas, this manufacturer is currently in production limbo and thus the buildings aren't available, whether I could afford them or not. Perhaps this is just as well.

I just found a new German company,Najewitz Modellbaushop,
http://www.shop-021.de/shop-najemo.html, which makes Normandy row houses. These look very nice and I ordered a set of seven to see how they work out for this scenario. I am not sure how well you can put stands inside of the buildings, which makes the Musket Miniatures buildings so attractive. After I get these I will have to compare and contrast the pros and cons of all the various manufacturers. Anyway, back to the paint mines.


The center of Villers-Bocage before the Germans attacked and the Allies bombed it into the rubble of rubble.


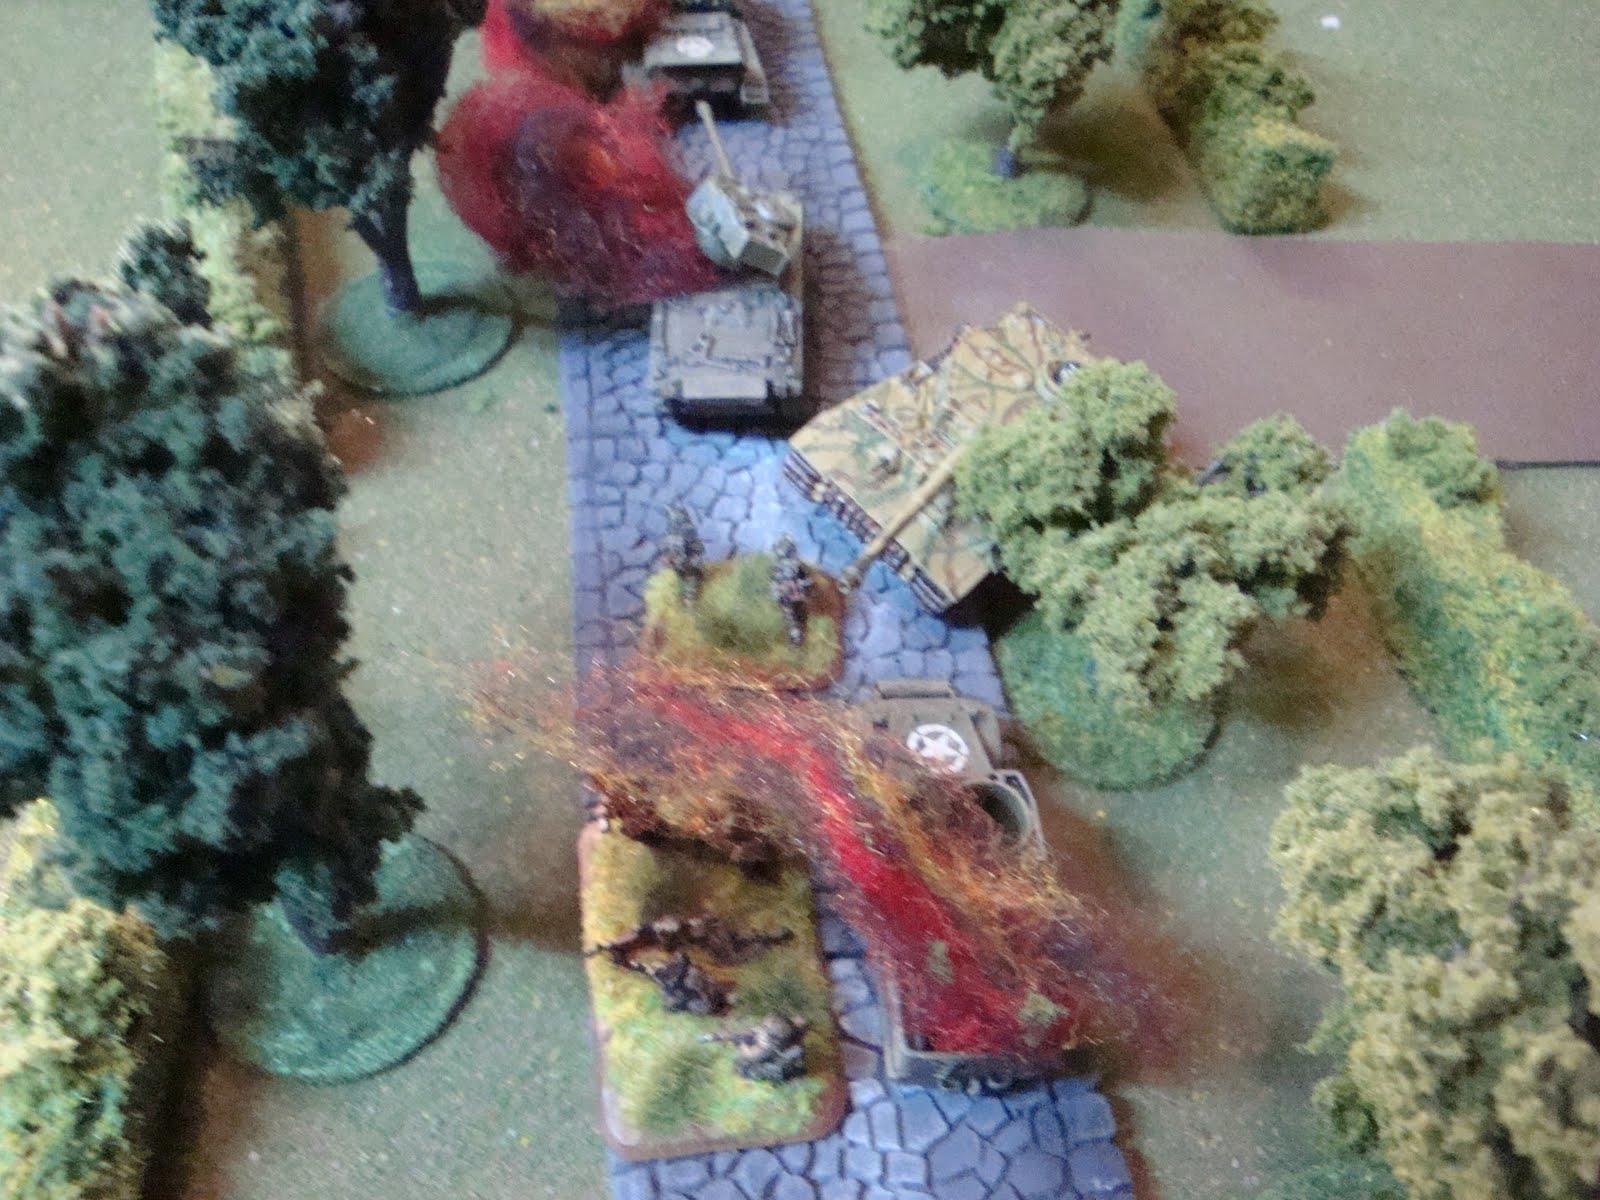
A view down the main street. The buildings on the left are Musket Miniatures. The ones on the right is Crescent Root.

A German Tiger Tank for comparison in the narrow streets of Villers-Bocage.


Another view on the town. The buildings in the center foreground are from Miniature Building Authority, http://www.miniaturebuildingauthority.com/. These look nice, and can be disassembled to reveal ruins, but have little space for normal infantry stands to hide in.

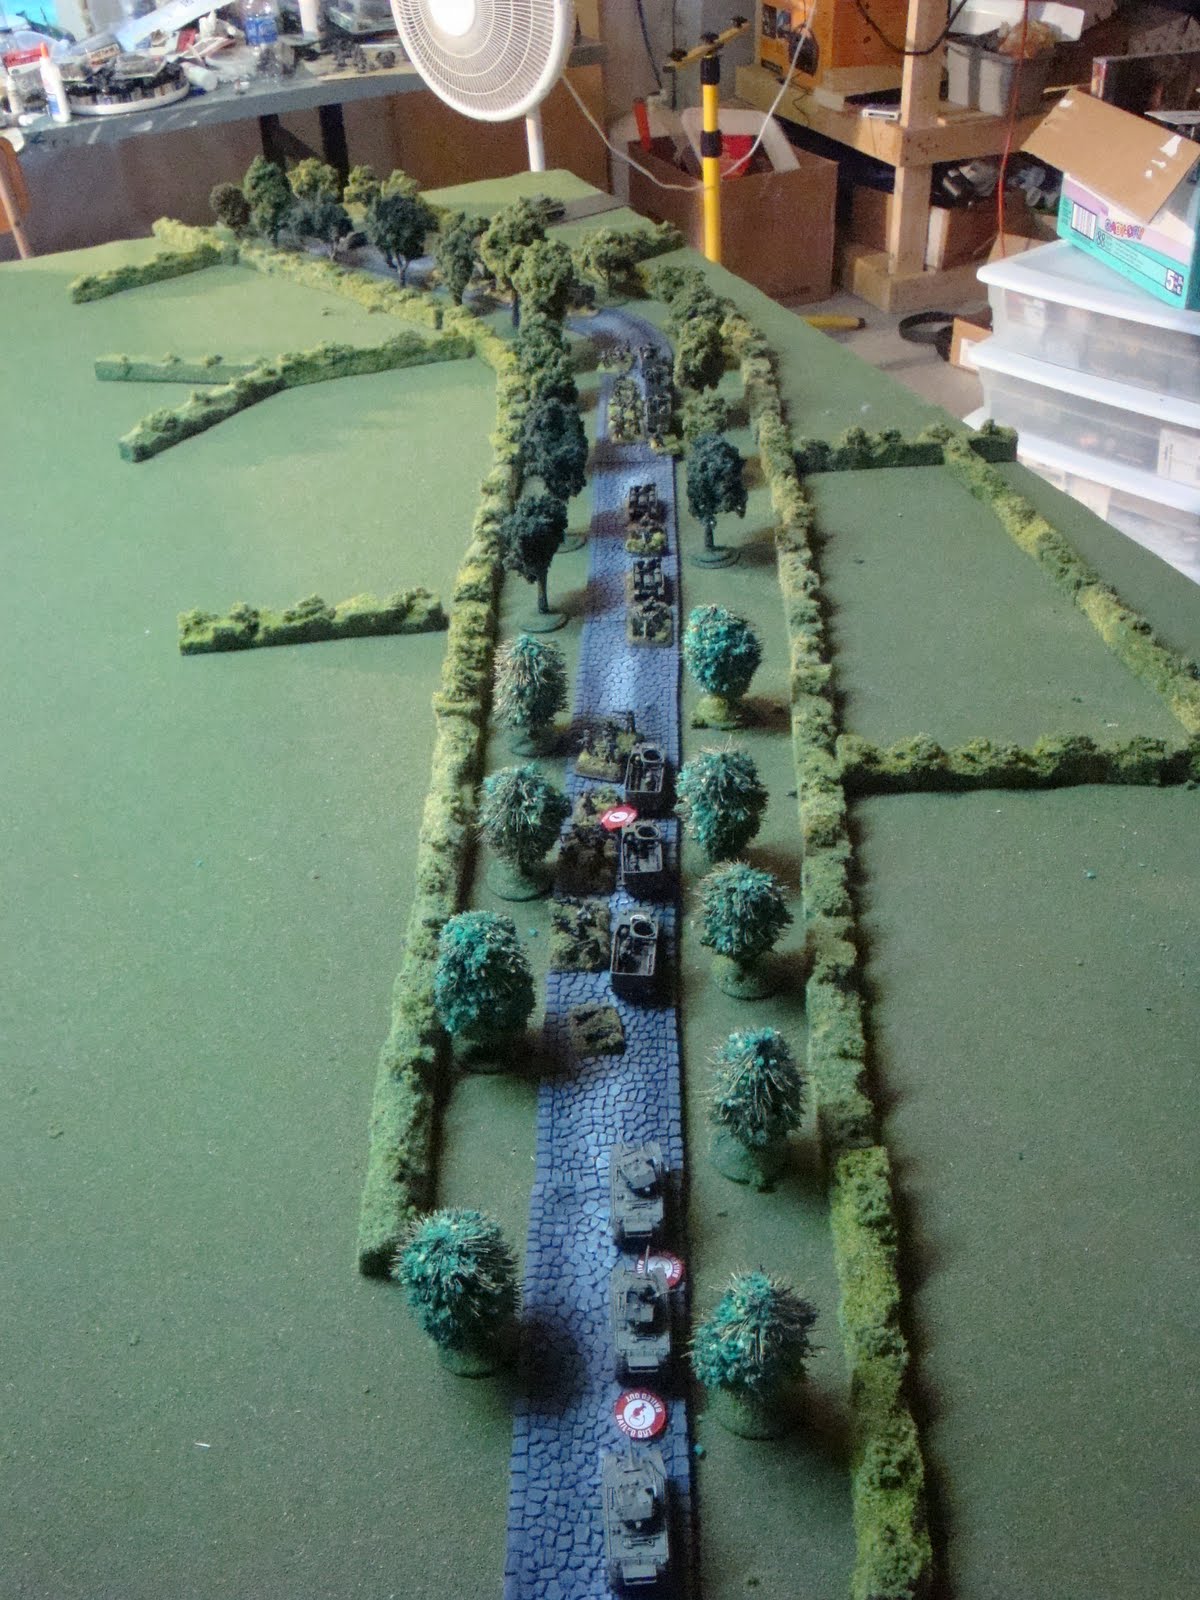
Another view. I need to get more cobblestone roads as well. These are by JR Miniatures, http://02a7218.netsolstores.com/ , which I think are very nice.


Herr Oberststurmfuhrer orders greater effort to finish off the terrain before the war ends.


Wittman's Less Than Wild Ride (no. 2)

Having seen his almost beloved halftracks explode into molten resin in less than six turns, my son wanted his own chance to recreate history as the Germans. By this time we had figured out the true use of the halftracks is to absorb hits so the infantry stands don't have to. This was not a good thing for the British to learn.

Herr Oberststurmfuhrer strikes again and the 4th CLY takes it! Again. Sigh . . .

Wittman attacks the 1st Motor Platoon which is made of sterner stuff this game. It will take six turns to eliminate this platoon, as the Tiger and Tommies trade PIAT and 88 fire.

An assault on the 1st Platoon fails to break their resolve to fight to the bitter end. German rolls were really horrible for the second strait game. I smirked a lot.

The PIAT gunner team well deserves to be mentioned in the dispatches for his refusal to give it up. He hits Wittman's Tiger a number of times, never penetrating but buying precious time for the rest of the British to finish their tea and mount up.

The 1st Motor Platoon counterattacks in an assault. The PIAT gunner wins a Military Cross (posthumous I am afraid . . . ).

Herr Oberststurmfuhrer is perplexed what went wrong as he moves past a burning British halftrack. Hopefully the other panzers at Point 213 are a little luckier . . .

Wittman finally finishes off the 1st Motor Platoon but the British run out the clock and survive for a full ten turns, only losing two platoons along the way.

This is a good scenario, and while it is tilted towards the Germans, it is not impossible for the plucky Brits to win. The Germans need to be a little lucky and make the British infantry the main target of their attacks.


Wittman's Wild Ride (no. 1)

Having successfully goaded my son into finishing all of the halftracks necessary for his 7th Armoured Division (Desert Rats) force for Normandy, it was natural to test their staying capacity against the Reich's (or at least Battlefront's) ultimate ubersoldier, Oberststurmfuhrer Michael Wittman. We played the "Wittman's Wild Ride" scenario in the Battlefron Villers-Bocage book. As the book suggests, this scenario is rather one sided. The Germans, with one Tiger ultra-ace and his panzer must obliterate a British force of a reinforced motor company from 1st Battalion, The Rifle Brigade. The Brits start the battle at tea, and it is down hill all the way (at least this time).

Before the battle: Wittman at lower left approaches the British column on the road to Caen.
The lengthy British column provides many targets for Herr Oberststurmfuhrer.

We'll have tea AND biscuits, thank you.

Herr Wittman lines up for the only real thing that can hurt the Germans, an unsuspecting Sherman Firefly of the somewhat less than elite 4th CLY.
The sheer wonder of an British Motor Company in less than full flood.


The British column looking forward from the rear. Note the recce Stuart tanks in the rear, where they can do little harm (or good).


The last moments of quiet before the Hun attacks.

British forces start the scenario in a bailed out or pinned mode as they wait for the water to boil for the tea. Here the 1st Motor Platoon waits for the tea to brew up, little awarre that they will brew up first.

Angriff! The first Cromwell of the attached 4th CLY platoon is no longer a runner.


By turn two, none of the platoon can do anything but burn. A ROF 3 Tiger is bad news.

The 1st Motor platoon last a full turn as 88 mm tank guns and machine guns cause enough damage to rout the survivors.

Herr Wittman engages the 2nd Motor Platoon, who are even more reluctent given the fates of the forces at the head of the column.


Herr Wittman takes careful aim at the courageous Tommies.


More halftracks burn under the fire of the elite Panzercommander.

British rolls for saves are pretty bad, even for my son.

The 2nd Motor Platoon dispatched, Wittman moves down the road looking for additional targets.

The Lloyd carriers and six pounders of the Anti-tank Platoon provide them. They don't last very long.

Herr Oberststurmfuhrer gingerly moves past the burning British halftracks, trying not to scratch the paint.

With four British platoons anihilated in a mere six turns, the British break and the Germans proclaim a decisive victory.

British forces from the rear of the column are thankful for the march order as they scatter under the approach of Wittman's panzer.