There is nothing like a major wargame convention to motivate you. The great sights and shopping at Historicon this year did that once again, and I came home fully intending to paint more houses and Germans to do the Villers Bocage scenario. The houses are moving along (mass producing seven French row houses isn't for the unmotivated) but until then its back to Normandy with my usual cast of characters in the much less than elite 91. Luftlande Division. These confident trained troopers are called upon once again to resist the never ending Allied invasion.
We used the Infantry Aces construct from the latest Battlefront missive, Cassino, as the forcing function for the size of the scenarios. This method has one start out with 500 point forces, then escalates to 700 and then 900 points. This increase allows one to replicate the initial US paratrooper invasion as the paratroopers were spread to hither and yon and took some time to mass their forces to attack their objectives. As time went on, more "lost" soldiers found their way back to their units. On the German side, the initial response was confused as senior leaders were away on wargaming business (how ironic!) or killed in the early hours of D-Day, limiting the command and control of the available units.
Our first game (500 points) thus had a US Paratrooper force with one full strength platoon and one reduced strength (with 2 squads) up against a full company of Germans with 3 infantry platoons and a MG platoon under the always intrepid Hauptman Cothen. We played the Seize and Hold mission from D-1 as a suitable scenario to show the early attempts of the American paras to take some of the bridges over the Douve River to protect the flank of the invasion.
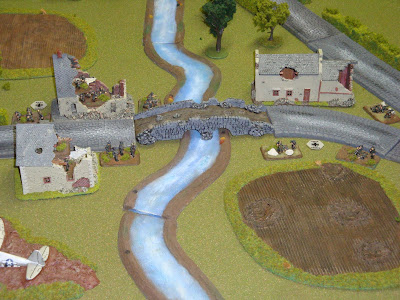
 The peaceful French countryside.
 A closer view of the bridges over the Douve River.
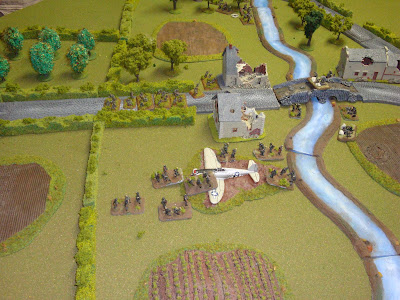
 Looking north. Infantry Aces only uses a 4' x 4' area for the first scenario, but I wanted to make the area larger for incorporation in the next scenarios where you go back to the standard 6' x 4'.

The Germans put the 1st infantry zug and the MG zug around the main bridge. The P-47 has made a crash landing as an objective, only to lose that status before the game begins. The other bridge is unguarded which is going to hurt really soon. The Company commander and 2IC also mass at the bridge and have a large draught of schnapps. Invasion? What me worry?
 German units begin the game pinned for the mission. It is also night as the game begins.
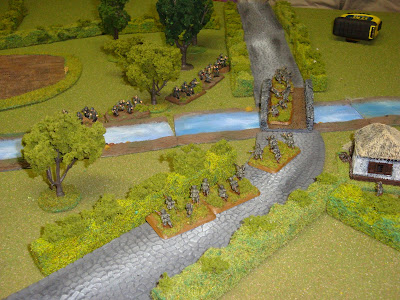
 US paras arrive and rapidly move at the double through the hedgerows towards the undefended bridge.
 The German Command teams stay pinned as the schnapps takes a while to wear off.
 Its a race for the bridge as the 1st infantry zug leaves the warm cover in the bombed out houses and moves to contest the rapidly moving US paras. The German MGs did in around the bridge. Herr Hauptman Cothen remains pinned despite his orderly's frantic attempts to wake him up.
 More US Paras arrive and move towards the first bridge.
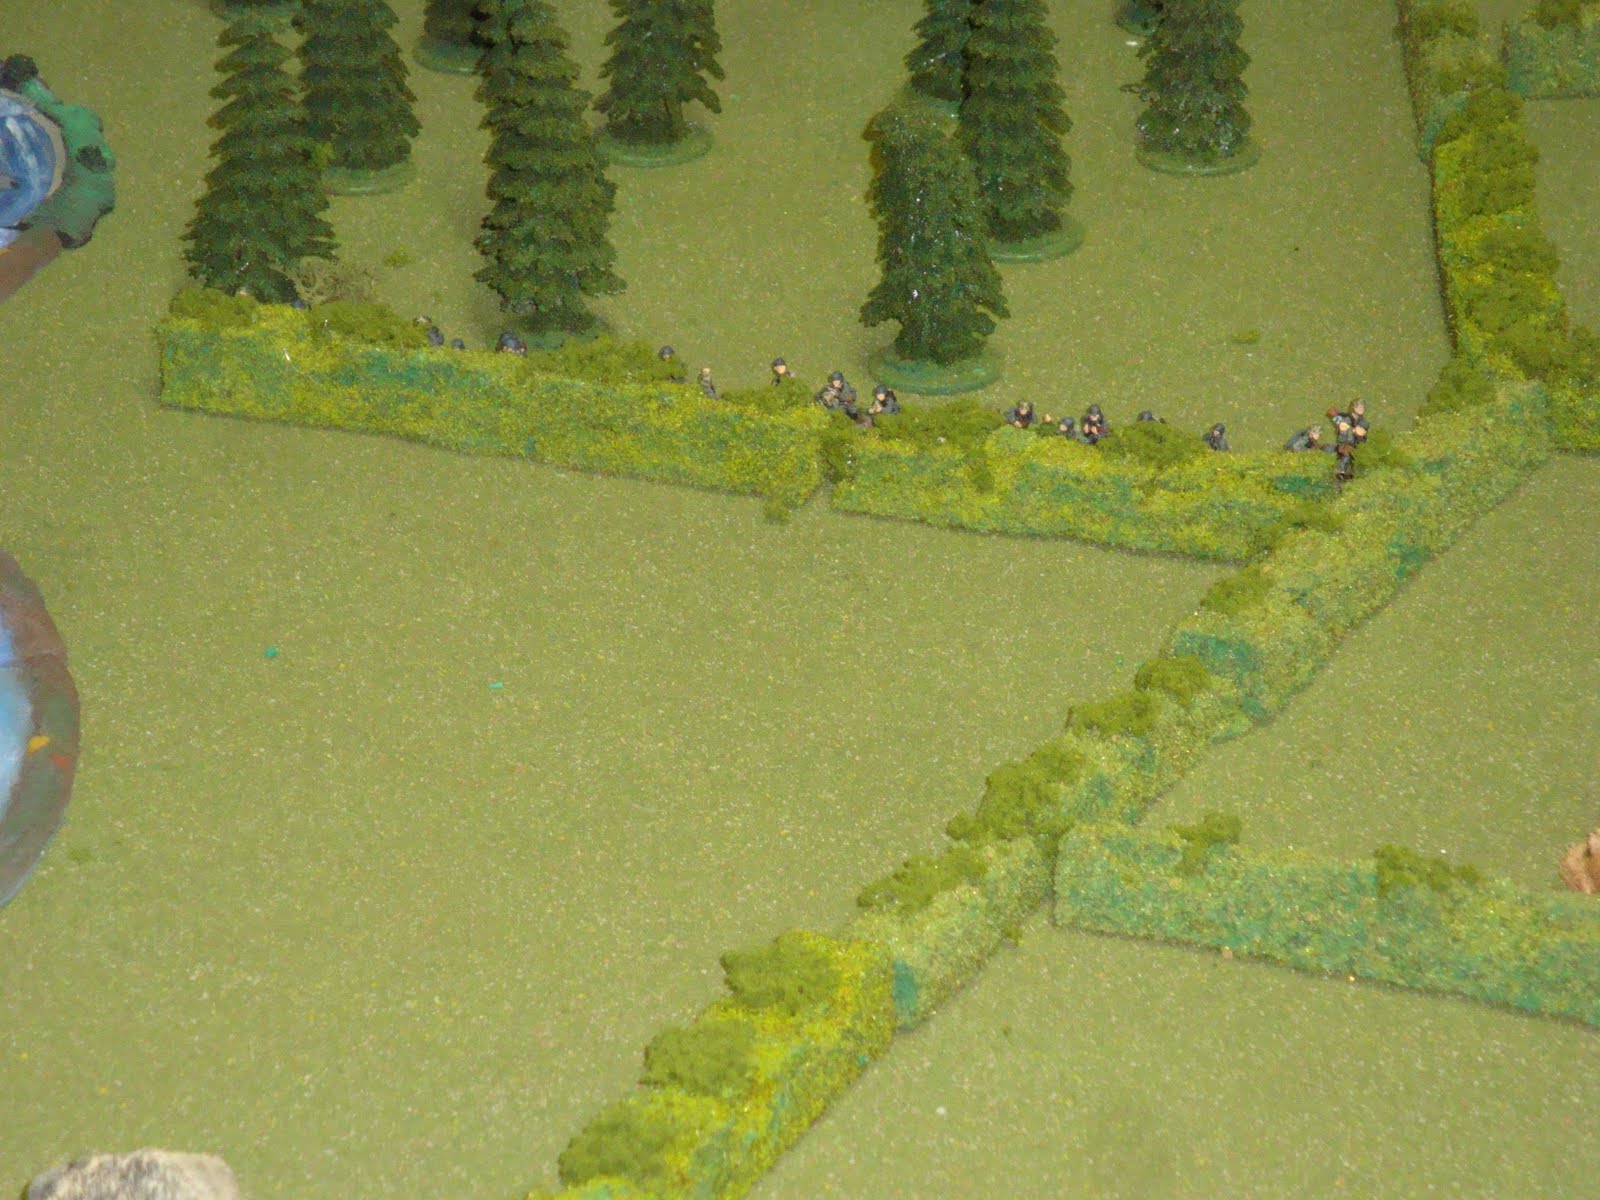
 The 1st para platoon takes cover in the hedgerows prior to contesting the undefended bridge.
 German reinforcements arrive as daylight breaks. Herr Hauptman is still trying to find his boots and remains pinned.
 The 2nd para platoon leaps over the hedgerow and moves down the road.
 Germans and US paratroopers begin to contest the bridge with a drawn out firefight. The Americans score a lot of hits but the Germans save rolls are amazing.
 The 2nd para platoon figures out that attacking the bridge against a German MG platoon may be costly and moves across the hedgerow to support the 1st para platoon.
 The firefight at the bridge continues.
 Achtung! More German reinforcements arrive. The 3rd infantry zug moves in to surround the Americans.
 Meanwhile the 2nd infantry zug pushes in to attack the 2nd para platoon.
 The firefight continues. The 1st infantry zug loses a stand and is pinned.
 The 2nd US para platoon gets fire from the MG platoon, the now functioning (barely) German SMG command teams and even the 1st infantry zug at the contested bridge.
 The 2nd para platoon loses 5 stands, takes a morale check, fails and routes. The Germans at this time have lost only 1 stand. Visions of victory (somewhat hazy to be sure, as Herr Hauptman is still moving slowly and has his boots on the wrong feet) dance through the German commander's head.
 The firefight continues and the 1st Zug loses another stand.
 The US commander encourages his soldiers to fight on even as it looks like the bridge is becoming an 'Alamo' type engagement and he isn't a Mexican.
 Things are looking good for the Germans. All three infantry zugs are firing at the Americans or moving up to contest the objective. The MG platoon fires at the paras from the other bridge.
 . . . and then, things begin to go wrong. The 1st infantry zug loses another stand and has to make a morale check which they fail and rout off the table, leaving no one to contest the objective. The Americans, having lost only three stands are now starting to even up the fight. The 3rd infantry zug bounds across the fields to get close enough to assault. Its desultory fire manages to pin the paras as it bounds up to the hedgerows.
 The confident grenadiers go over the top and promptly fail to kill a single para stand, which is really unfair.
 The Americans counter attack and kill all three German stands. Gott in himmel!
 The 3rd zug is now down to one stand but amazingly enough does not break.
 The zug commander feels a bit alone as this zug evaporates in the assault.
 Failing their stormtrooper movement, the 2nd infantry zug cannot contest the objective. The Americans win!
This loss was distinctly annoying in that having rolled so well for 7 turns, when I really needed a good roll in the final German assault I failed miserably. The Americans then made a great roll and killed half of my platoon. Leaving one objective uncontested was a risk, but one I thought was manageable given the small size of the US force. Poor decision once again.
Based on their perfomrnace, the US commander will get an upgrade for the second scenario. The German commander gets nothing.
 The scale is pretty good and the roofs come off, but there aren't any additional floors in the model. I added a top floor that can house two medium size FOW bases.
  Here is the top view of a row house with the roof removed and a standard medium base.
  You can fit two medium bases in the top floor with a bit of an overlap. Nothing too tight, but that is about the maximum that will fit.
  Here is the same view with a medium and small base. There is a lot more room here. I paint the inner walls white to make the infantry bases stand out more.
  You can also put bases on the floor, but they are difficult to see. For the Villers Bocage scenario, I will put these row houses in areas where I think there will less house to house fighting. I will have to play test the scenario a few times to figure out where this might be.


