The second game I played at Templecon was a slight variation of the Battlefront Arnhem scenario. A ~1750 point Fearless Veteran British Paratrooper force was dug in on the north side of the Arnhem bridge. The German force, based on an SS infantry company plus a fair amount of armour, is directed to counterattack and seize two out of the three objectives that the British already hold. The Germans have delayed reserves and the reinforcements roll for random skill and morale, representing the mish-mash of forces that the local kampfgruppe commanders had. This game goes poorly for the Germans. The British are dug in fearless vets. The Germans are attacking and attempts to concentrate and take even one objective only result in massive casualties for the Germans. The Germans lose. Badly. Historically accurate as well.
The board was made by the regulars at the local hobby shop and well represented the built up areas. The JR Miniatures Arnhem apartment buildings look the part and hold the FOW bases pretty well. Nice job for all involved in the creation of the board and running the game, even if it wasn't even close. The next wave will get Frost though! I promise.
 Another view of the sleepy Dutch town.
  Looking south down the highway to the bridge. Where is XXX Corps? The world wonders . . .
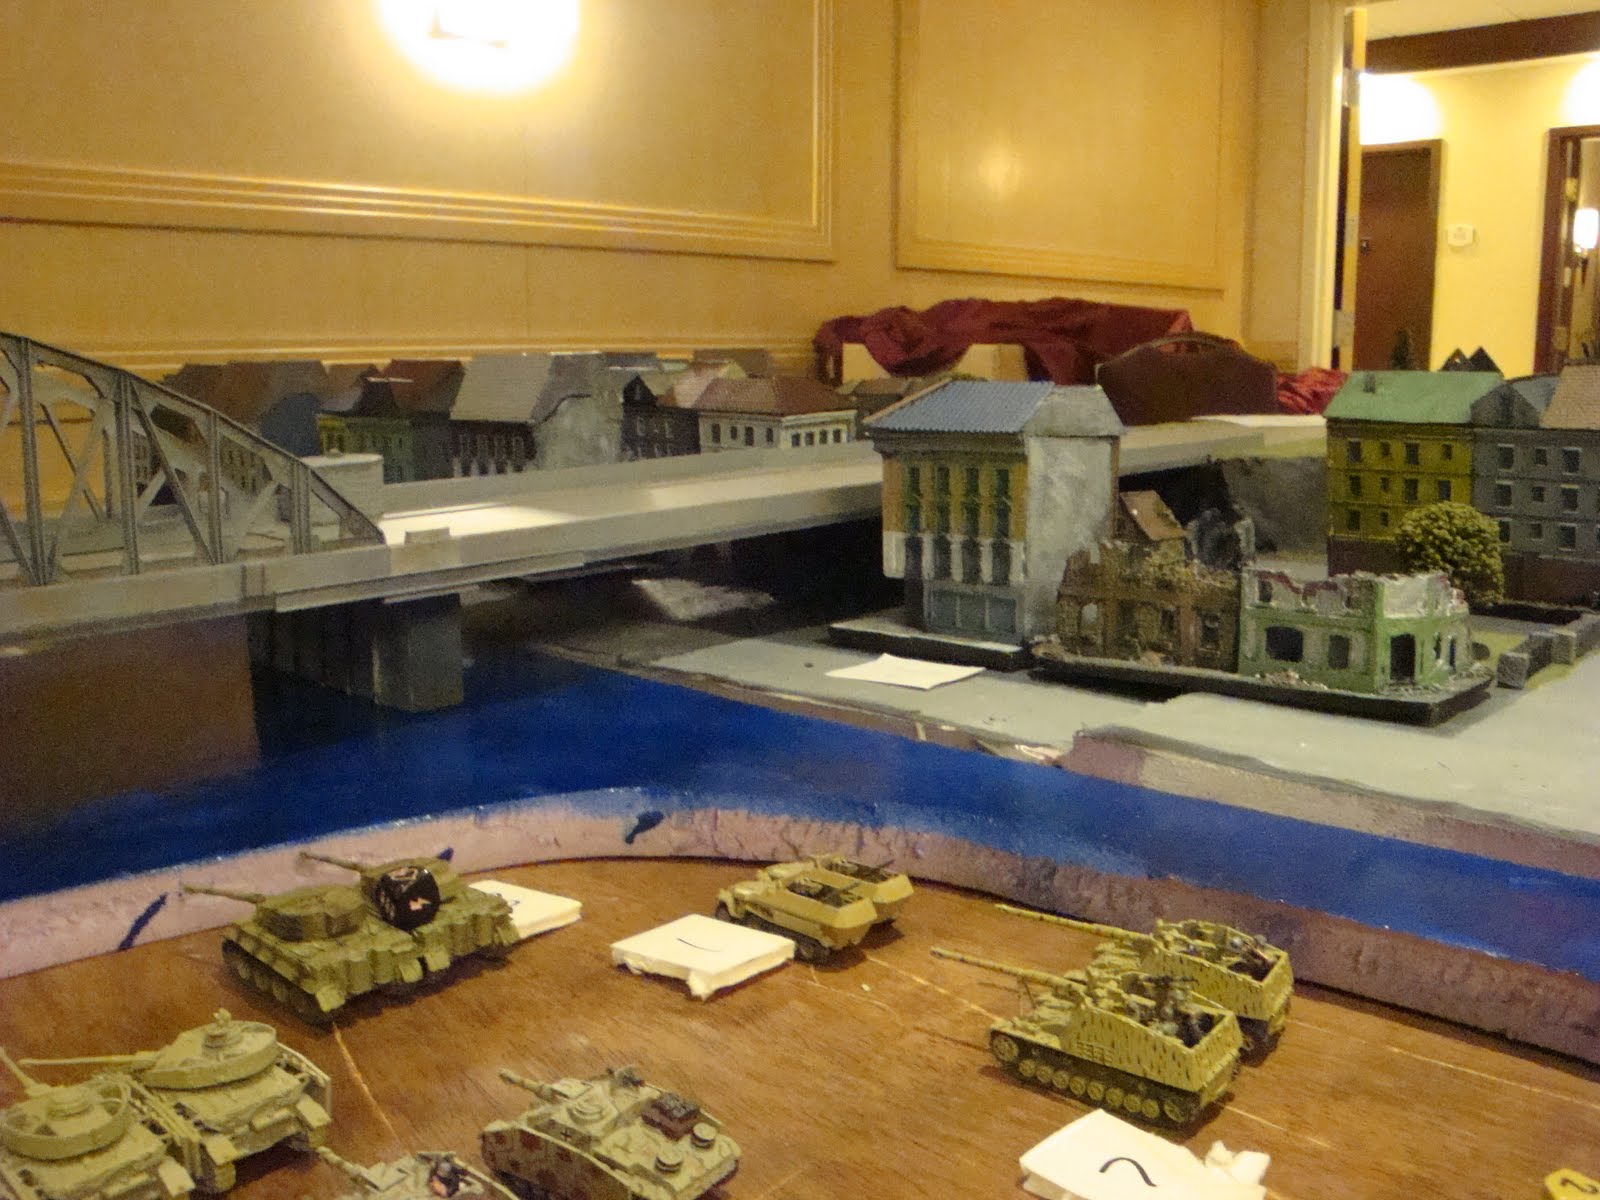 The view from the river banks.
 British paras mass in the Hartenstein Hotel with a MG platoon, an infantry platoon and LtCol Frost.
 A British mortar platoon on the bridge has great fields of fire (but no cover).
  The paras dig in deeper as they hear the sounds of advancing Germans.
 On the other side of the bridge escarpment, another infantry platoon digs in.
 The streets are empty . . .
 . . . even the locals are hiding in the basements . . .
 SS Panzergrenadiers move through the rubble to attack the entrenched paras in the hotel.
 Another view of the initial German attack. Not that it gets much farther from the start line . . .
SS Panzer Mk IV Hs move down the street to provide direct fire and targets to the British antitank guns.
 British mortars target the German panzers.
  German antitank guns move in to provide support or at least a different target for the FV Brits to engage.
 Once in range the German infantry lets loose, only to find that hitting, let alone killing, veteran troops in hard cover isn't easy.
 British six pounders open fire on the German panzers.
 The panzers die quickly under the hail of fire and the platoon breaks before it has achieved anything.
 Reinforcements arrive! Two StuG III Gs move up to add their weight of fire to the German attack.
 Cringing in the rubble, the German infantry expend ammo against the paras in the hotel.
 British paras leave their apartment block to stalk the German AT guns. Guess how this is going to end?
 British mortars pound the Germans while the six pounders hide underneath the overpass.
 More German reinforcements show up on the bridge escarpment and blast the British paratrooper mortars in about the only time the Germans do any appreciable damage to the British. I don't think the Germans had this type of tank hunter at Arnhem, but as a depiction of a scratch kampfgruppe they worked well. Plus, it was a bit of a surprise to the British players.
 The Nashorns open fire on the British mortars and break the platoon.
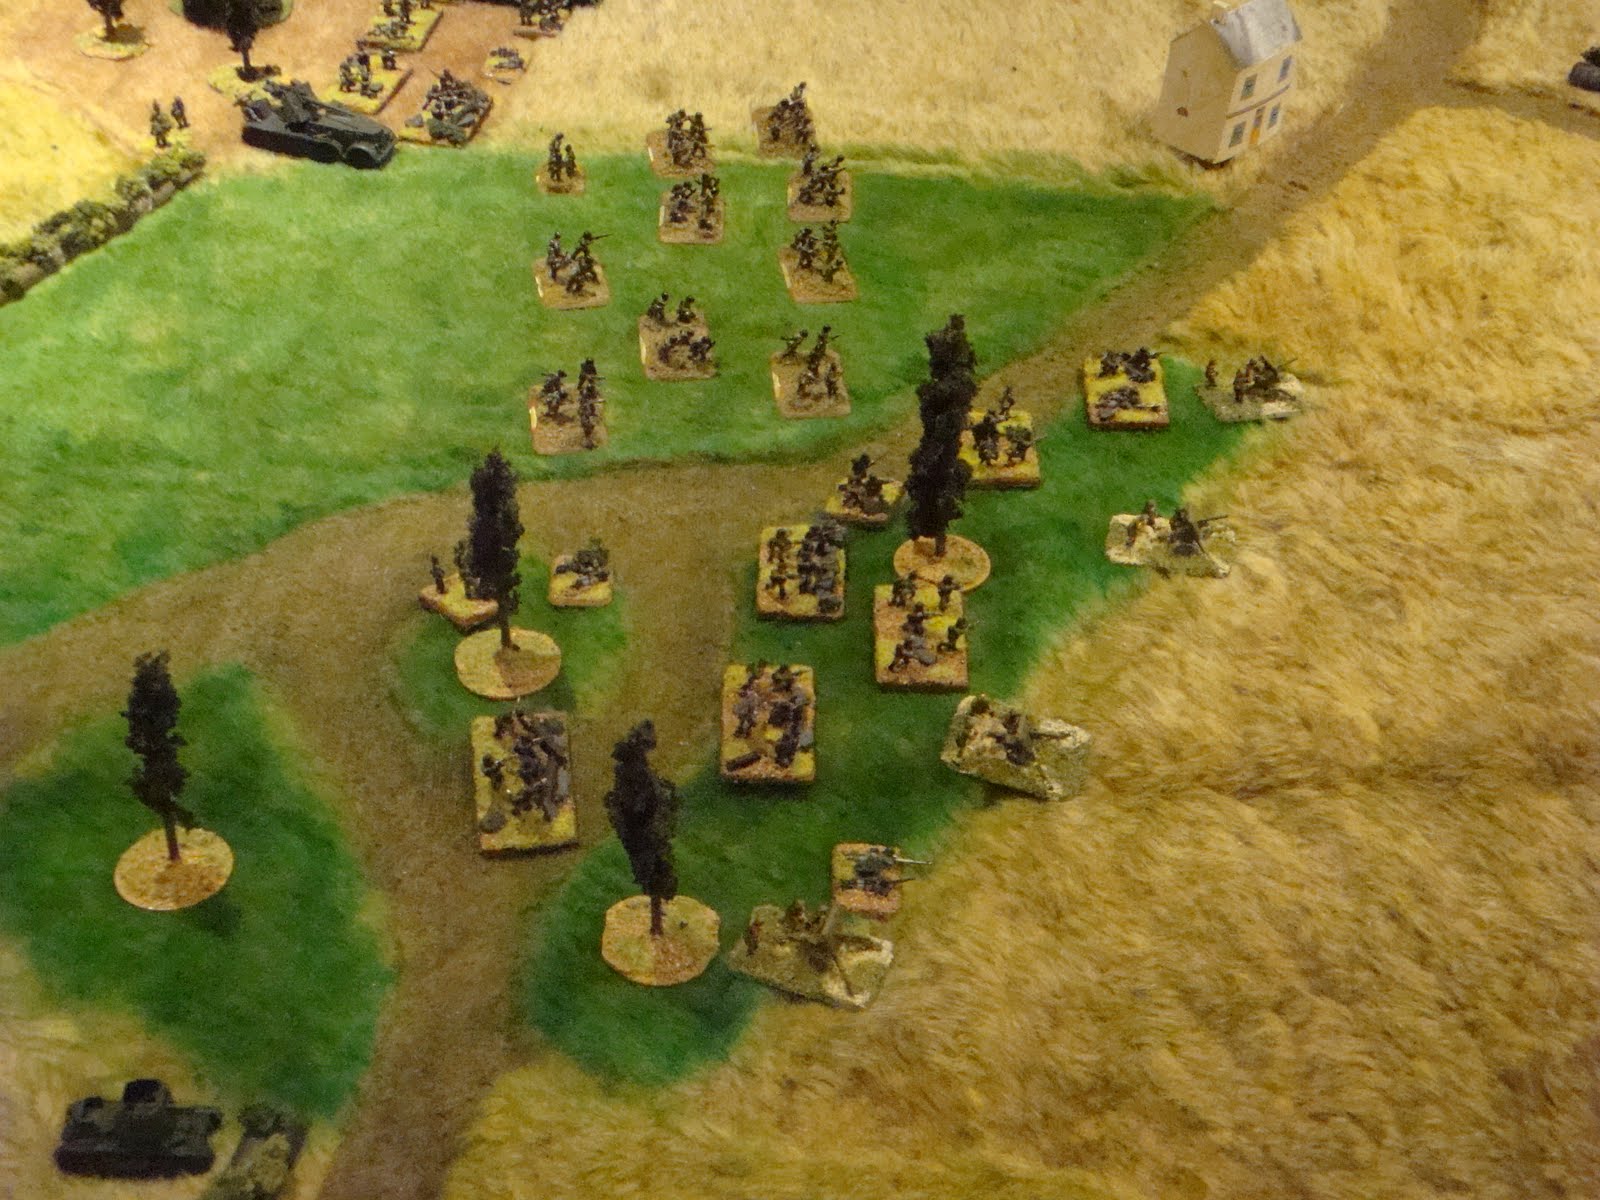
 The British on the other side of the escarpment have little to do and begin to move to the other side to help out LtCol Frost.
 British Paratroopers lurk in the apartment buildings ready to attack the Germans.
 Time to move out to the other side. No need to worry, no Germans here . . .
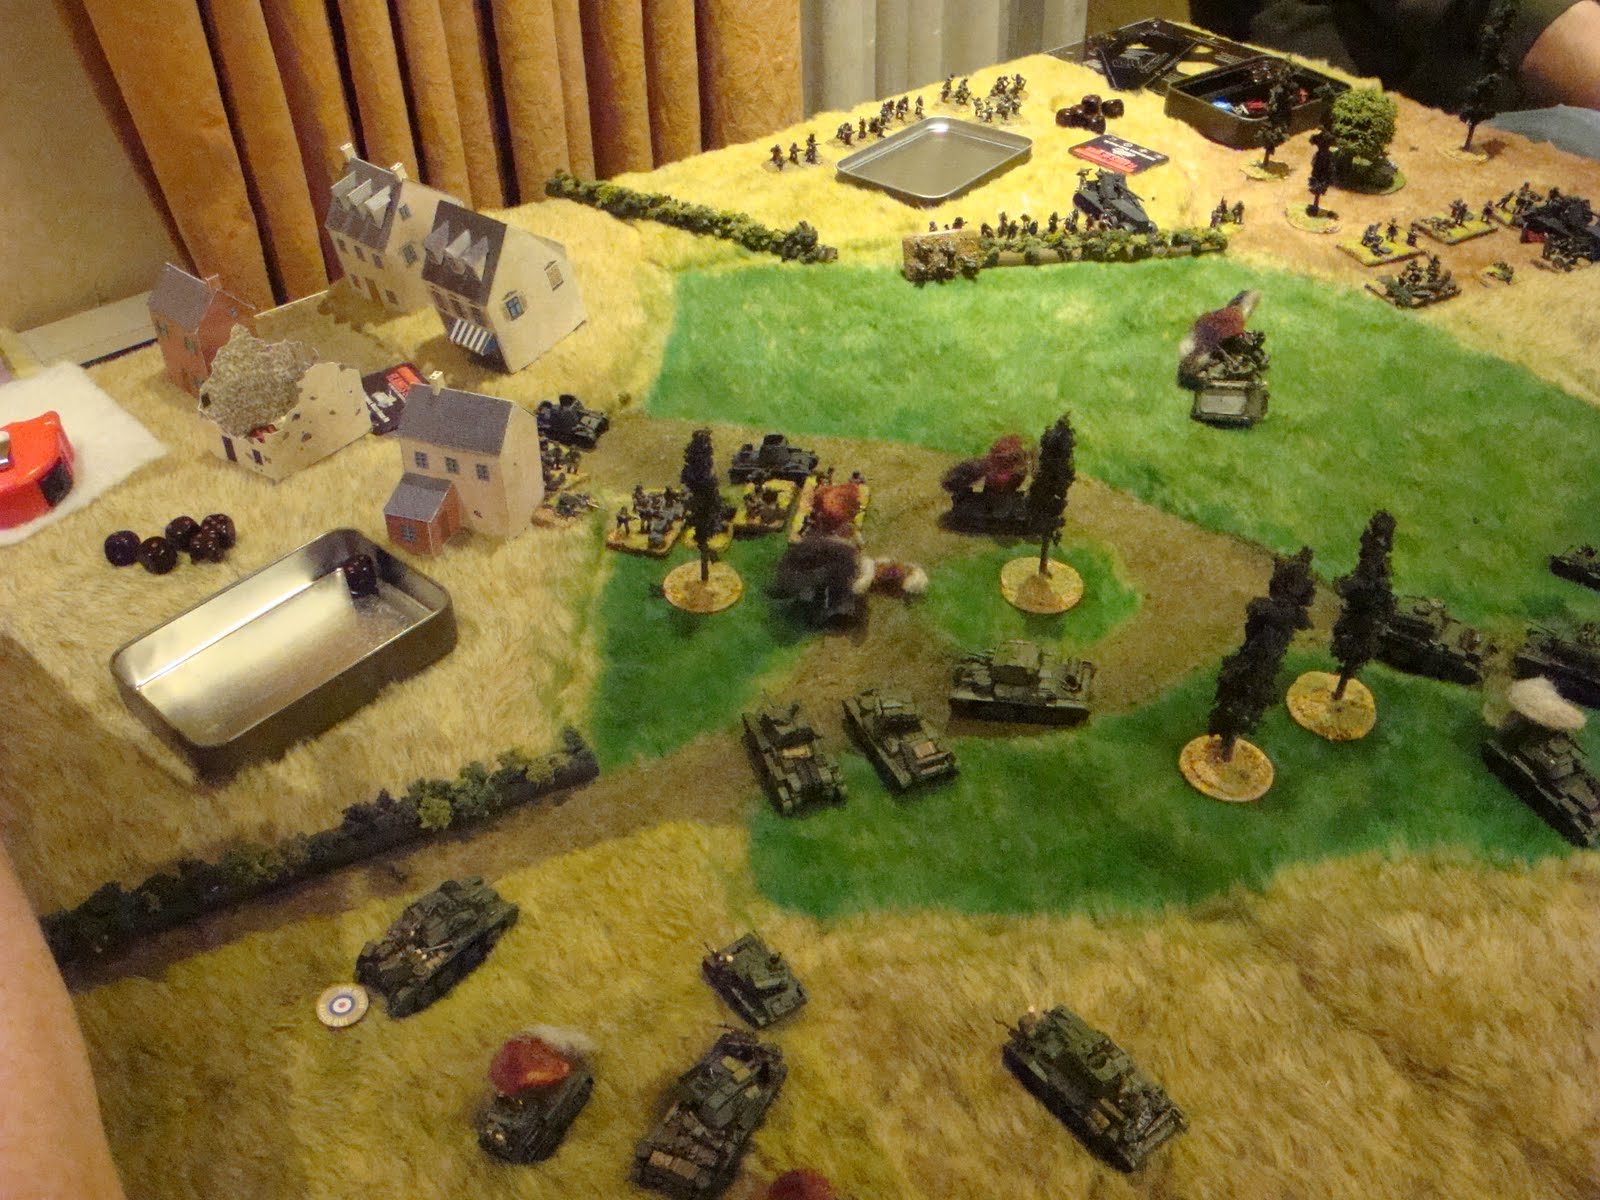
 More German reinforcements arrive. Two Tiger Is and two Sdkfz. 251/9 Ds which promptly open fire on the British who are providently out in the open!
 MG and cannon fire discourage the British movement.
 Another panzergrenadier platoon arrives and moves up to assault the paras in the hotel. This is not a good idea but time is rapidly running out for the Germans. The British MGs and infantry destroy the attack and break three German platoons in the process. Ugh.
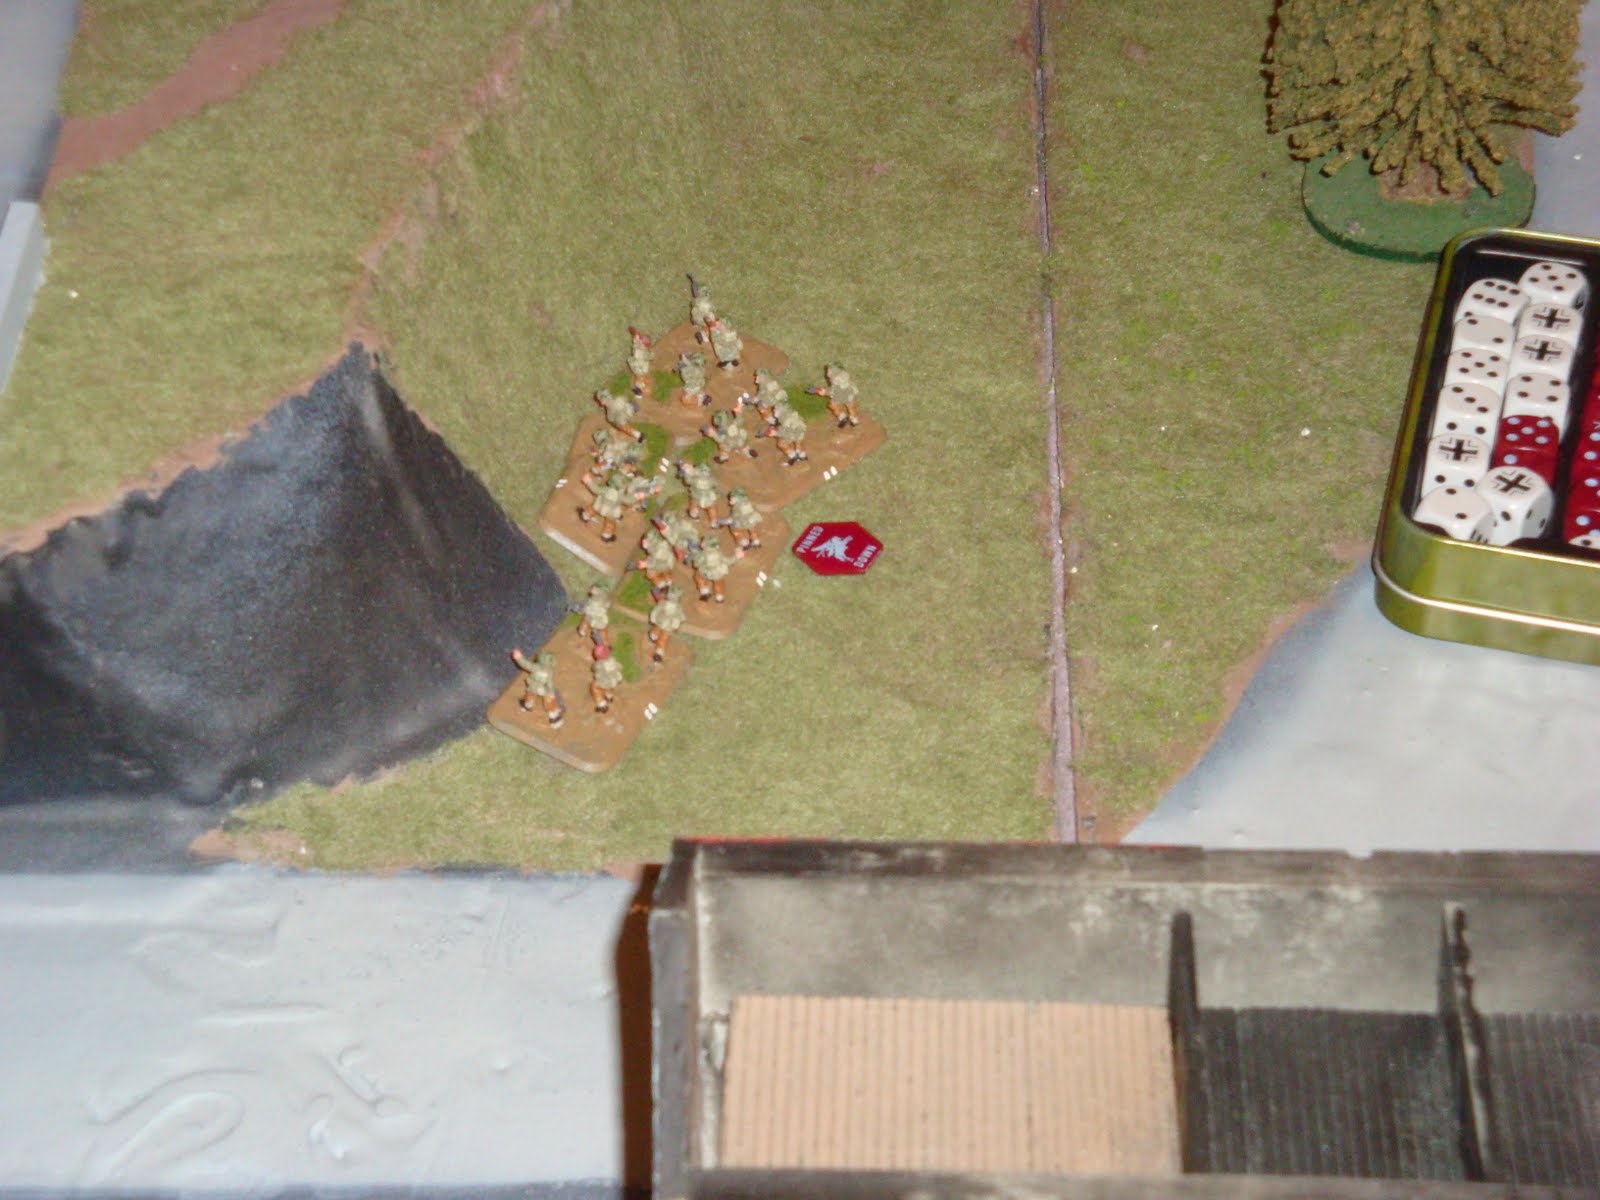 British paras are pinned under the Tiger and halftrack fire. Do the Germans have a chance to strike a decisive blow? No.
 The lone surviving German AT gun plugs away at the British positions.


