This report is from last summer, so I have forgotten a bit about what happened. Except that I lost again. Of course. The Agony of Defeat is always pretty vivid.
Anyway, I had just finished reading "Goodwood" by Ian Daglish, so with summer about to end and my son about to go back to college, it seemed worthwhile to pit his 7th Armored armored force against whatever Germans I could scrape up in teh Breakthrough Mission. As I recall, he fielded a full armored squadron of reluctant veterans with a full Sexton Battery for support. A troop of Stuart Vs was available to attract German AT fire and a platoon of halftracked infantry was around to hold the objective.
As the weary yet Fearless Veteran SS Panzertroopen, I put a rump Panzer kampfgruppe of a Panzer HQ with 2 Panzer Mk IV Hs, three zugs of 4 Panzer Mk IV Hs apiece, a Panther zug with 3 Panthers, a panzergrenadier platoon and a nebelwerfer battery with 3 launchers. Both sides had ~ 1750 points to go at it. With that many points, how could I lose? Let me show you . . .
Lovely tank country looking south to Bourguebus Ridge.
I tried to recreate a representative table based on the aerial photographs of the book. A few roads, fields and villages.
This village on the south end of the board has been hit hard by the Allied carpet bombing.
Another view of what was left after Bomber Harris and friends showed up.
The Panther zug is encouraged by the open area and potential long range killing fields.
The panzergrenadiers dig in at the northern most village where they can do little except be bypassed.
Not much left of this village either . . .
Looking north from the ridge. One objective is on the ridge crest; the other is at the base.
The Panzer HQ is ready for some easy side shots while hull down in the hedgerows.
Here come the Brits!
1750 points is a LOT of British tanks.
A full 8 gun Sexton battery is nothing to sneeze at either!
Perhaps the 4th CLY can have a better day today . . .
Better bring up some more ammo Hans . . .
Another view of the British armored horde. And its not even an EW BAR!
The Sextons smoke the Panthers and take away their chance for any long range kills.
The Panzer HQ brews up a Stuart V in an easy side shot.
The smoke clears and the Brits get a bit antsy.
British tanks redeploy to meet the threat.
Other tanks mass to fire at the Panthers.
The Sextons lay more smoke on the Panthers but the cunning Hun stormtroops out of the haze.
Meanwhile the fast moving halftracks zoom up the ridge and seize an undefended objective.
British and German tanks exchange fire. From the looks of it, the Germans are getting the better part here, but there a LOT of British tanks left. At top, a Cromwell troop maneuvers to flank the Panthers.
This doesn't look good for the Panthers.
It's not. A Panther gets killed. The Germans really can't afford too many losses as they don't have many of the uber platoons to lose.
Meanwhile the Germans have destroyed a Cromwell troop on the British right flank and reposition to cause more damage.
A reserve panzer zug shows up and motors up to take on the British tide.
By now a British flanking force has also arrived on the ridge near the objective, which isn't good for the Germans.
The motor platoon dismounts and holds the one objective. The Germans deployed without this concern and are going to pay for it. The stupid SHALL be punished.
Meanwhile, the bypassed panzergrenadier zug leaves the rubble and attempts to assault the Sexton battery. This is yet another bad idea by the Germans as the Sextons have LOTS of MGs to fire.
More German panzers get attrited as the British flood laps up to the ridge.
The Panthers pull back to the southern village but another one gets killed and the survivor routs. So much for fearless SS panzers . . .
Meanwhile the reserve Mark IV H platoon smokes some British halftracks which while visually satisfying doesn't break the British infantry on the objective.
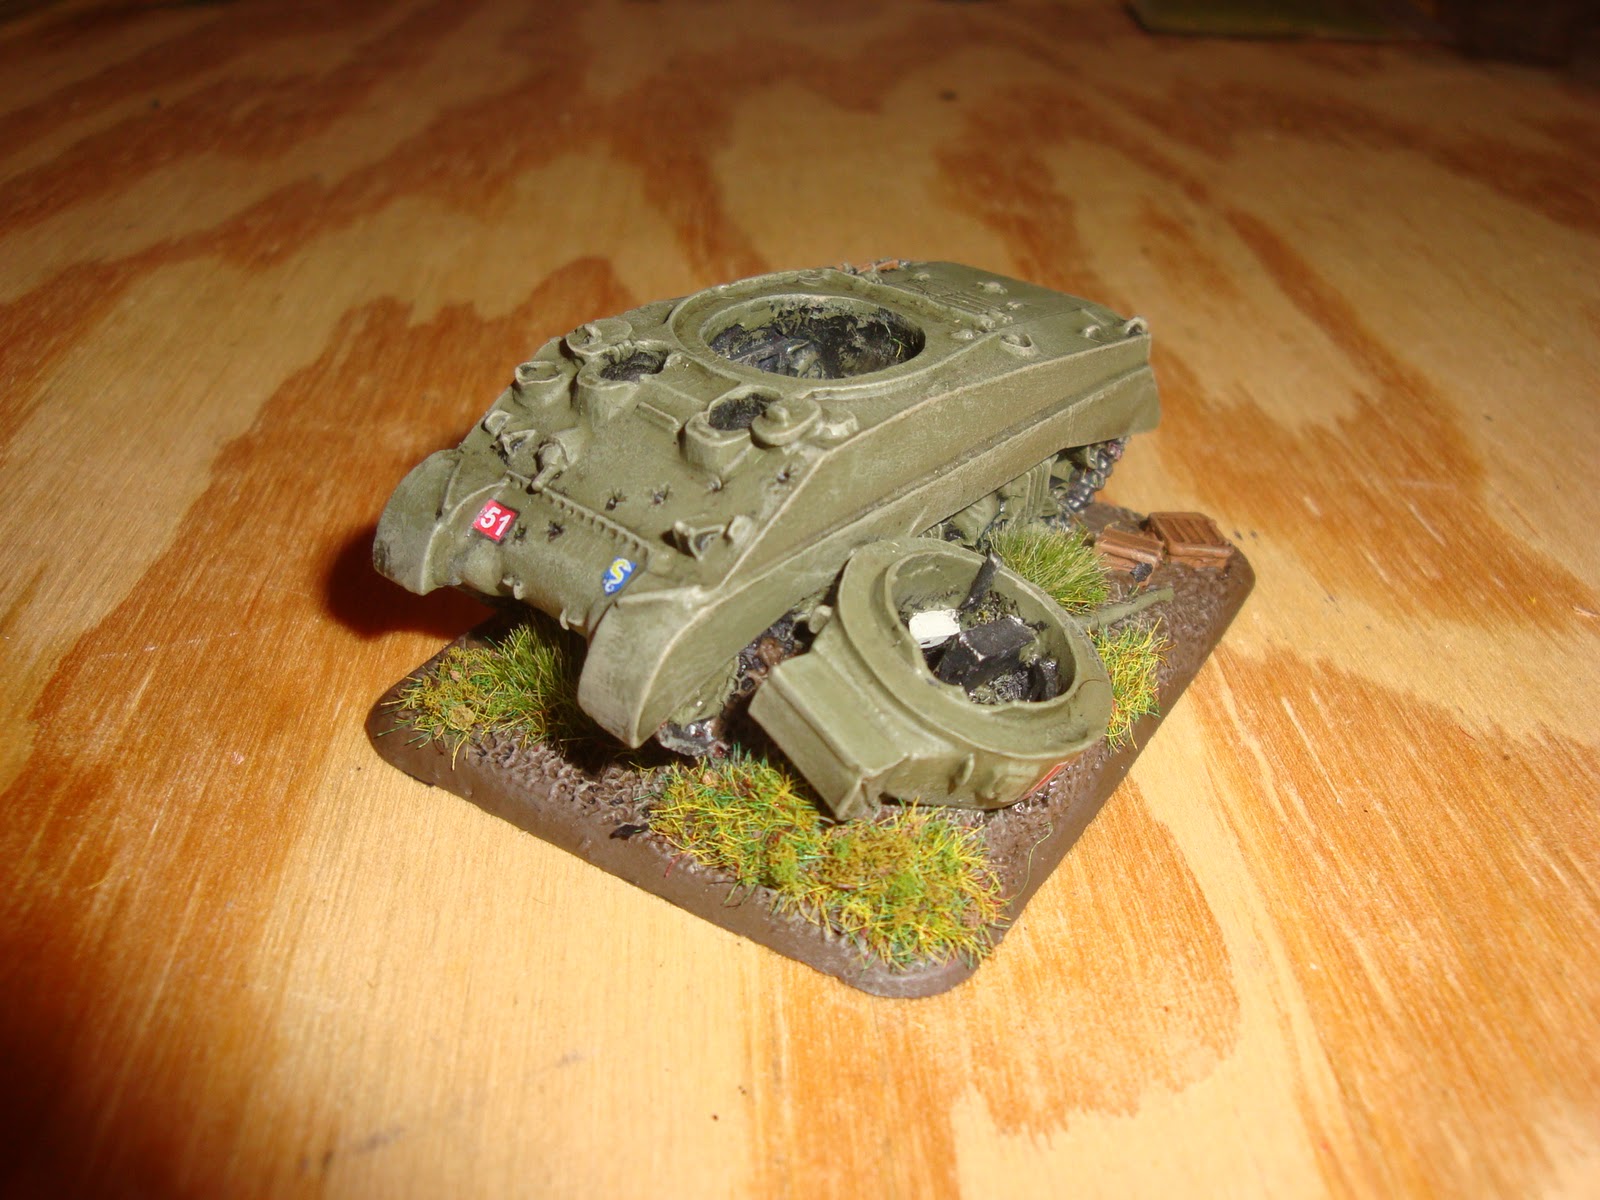
The remaining Stuarts are brewed up.
The Panzergrenadier assault goes really poorly as well. The few survivors route and now the Germans are down two zugs.
The British reorganize and continue on. Monty wants to get to Paris sometime this year.
The nebelwerfers don't do much this game except get overrun. Make that three zugs . . .
More German reserves show up at upper right. Will they turn the tide?
The Motor platoon cannot hold up against the combined fire of the panzers and routs.
The tank meelee in the middle continues as Panzer Mk IVs and Cromwells shoot and move.
The other objective is firmly in British hands.
The Germans try to stay out of the line of fire, but then have issues contesting the objectives.
More British tanks show up to show off the Mk IVs.
Another Mk IV buys the farm which causes another zug to fail a morale check and rout.
British tanks burn, but there are still more to destroy!
The German counterattack peters out . . .
With another Mk IV zug gone, the British hold the one objective and win. Curses!
Well, this one was another tough loss but not to fret. We replayed the game with the same forces a day or two later and this time the Germans won. A better placement of forces and better shooting (aka dice rolling for the Germans and really abysmal rolling for the British) made it a much better game. At least for me. The Thrill of Victory is always more enjoyable. No pictures for this one though.