Anyway, with only 200 more points to generate a force, I took the same company as before with an attached MG platoon. Then I added a 75mm infantry gun platoon, two 81mm mortars in the command platoon and two snipers. I hoped to use the MGs, mortars and 75mm infantry guns to pin the paratroopers and then overwhelm them with the infantry platoons. Since the mission uses scattered deployment, I couldn't be sure just where these forces would arrive, but since the defenders are really boxed in I didn't think it mattered much.
The cunning American player beefed his two infantry platoons up to two squads apiece plus 60mm mortar and bazooka teams, as well as adding a weak 81mm mortar platoon with two tubes plus a bazooka team and a sniper team for his command platoon. Not a great deal of change here, but when you have a Fearless Veteran force, its not necessary. Based on his previous performance, the company commander took the recon scout skill, though it didn't seem to help him much this game.
 German forces regroup after the previous minor setback while Herr Hauptman harangues the assembled soldiers on the need to throw the invaders back into the sea.
 Another view of the battlefield. The defenders will be massing around the bridge in the upper center of the picture.
 US Paratroopers dig in around the objectives, the bridge over the Douve River and a destroyed Marder III objective, partially hidden by the foliage.
 German troops surround the Allied bridgehead. The random deployment didn't seem to matter that much as the paras were basically holed up in a very small area and the Germans had the rest of the table. On the other hand, this made many of the American choices easy as all they had to do was stand and hold.
  German infantry guns move up to support the attack. Their total contribution to the attack will be the expenditure of a fair amount of valuable ammunition without killing a single US team.
The MG platoon deploys in open ground to use their immense firepower to advantage. With a range advantage as well, these teams should be able to pin the US paras as the infantry zugs move up to assault.
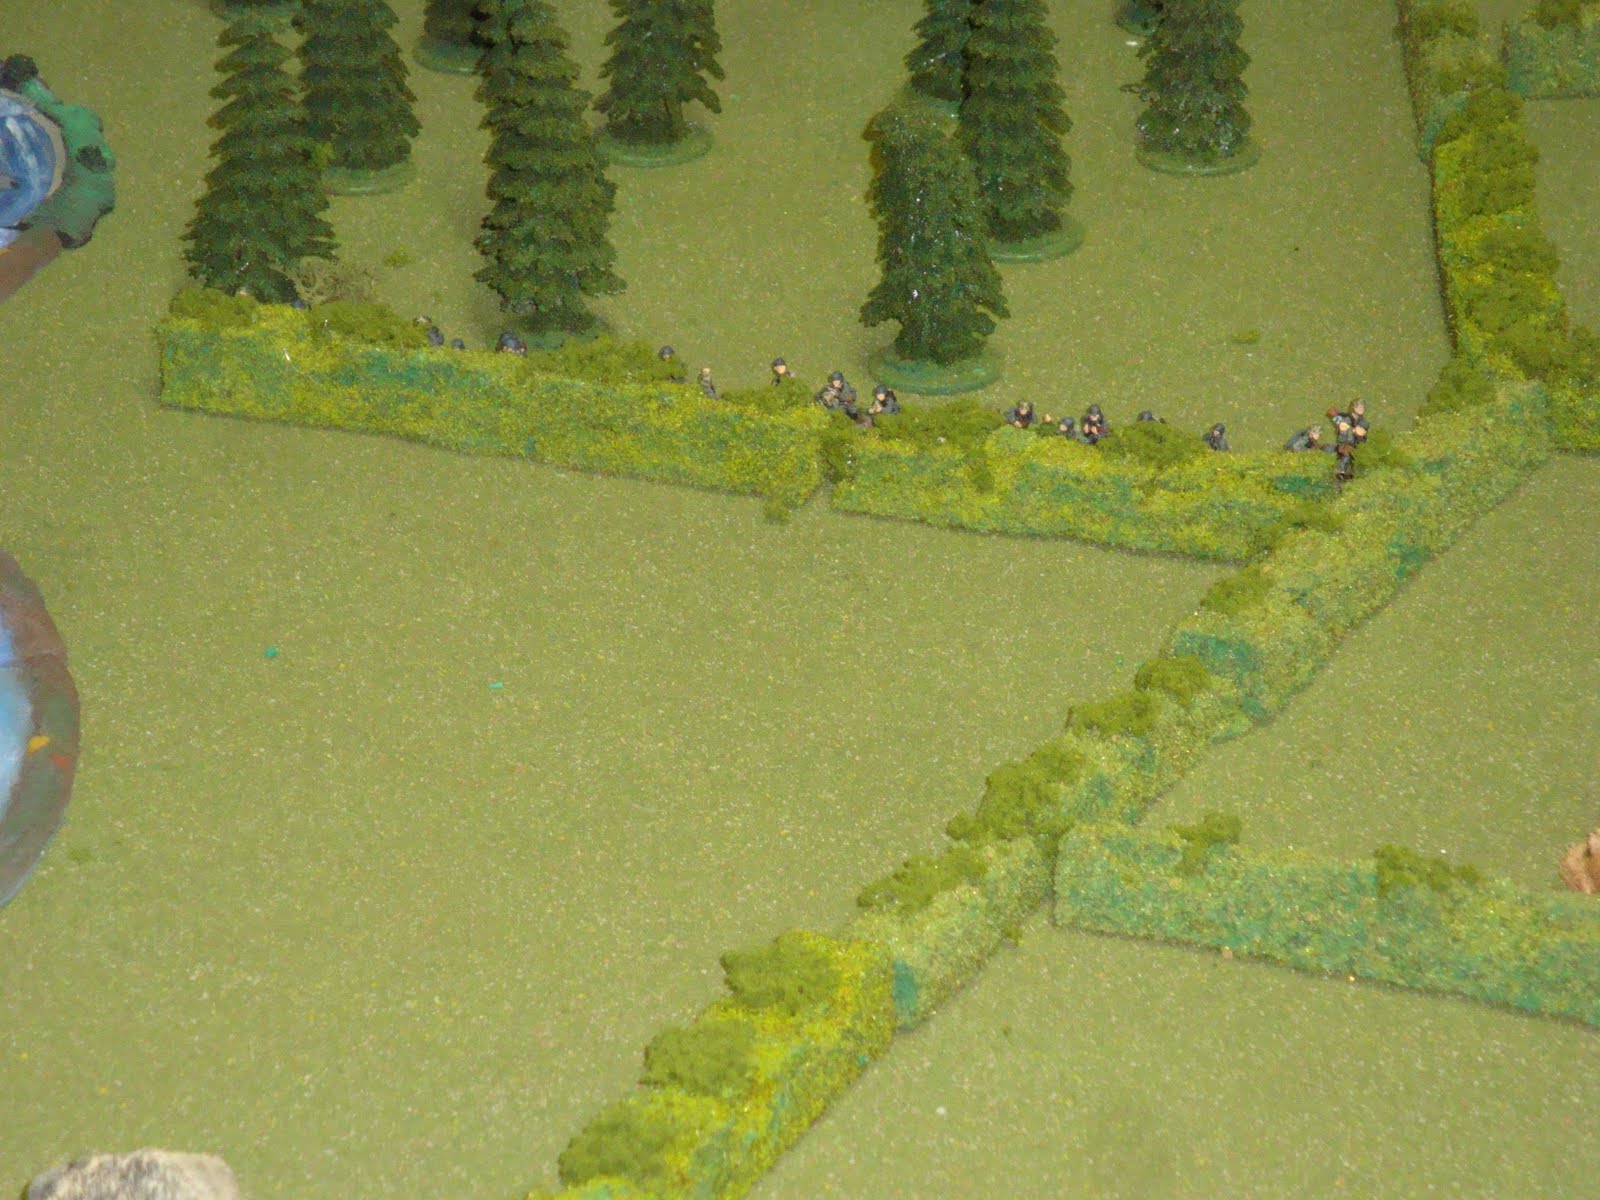 German infantry peer over the hedgerows awaiting orders to assault the Americans. What is this about assaulting US Fearless Veterans?
Angriff! The Germans move out on turn 1, which is about the only turn where things go reasonably well. The MGs stay outside American range, but at a range where their ability to do much more than expend bullets and chew up the French countryside is limited.
 Every zug moves forward to pinch off the American bridgehead.
  Another view of the German initial assault. The 1st infantry zug and the infantry guns deploy. Herr Hauptman will spot for the 81mm mortars.
  With this much combat power the Americans will be thrown back to the beaches! The 2nd and 3rd infantry zugs approach the objective.
  Or maybe not. The 2nd US para platoon arrives in the road, somewhat overloading the area, and the US sniper is placed on the German flank. The 81mm mortar platoon also shows up, though it only has two tubes after a pretty miserable drop the night before. The Germans begin a desultory firefight with all of their teams and manage to pin the 1st para platoon and even kill a rifle team! Rolling 24 dice with a full German heavy MG platoon and not getting a kill is annoying.
  US fire now pins the two infantry zugs nearest the bridge, halting their advance. On the German turn, the first sniper is deployed, but American troop density prevent the second one from entering in. This limits the German ability to pin the Americans, which is pretty important given that the German firepower advantage is not pronounced. Here the German sniper gets a few rounds off and accomplishes as much as the MG zug, that is, nothing.
 The next four game turns are very frustrating for the Germans. The small area the defenders occupy and the difficult terrain make it difficult to make use of the available firepower. Plus, American snipers and mortars pin the infantry zugs and prevent forward movement. The US sniper kills a rifle/MG team in the 1st infantry zug, while the German sniper repays the complement by killing the company commander's bazooka team. Otherwise, a total of one other German team is killed. No one can make much progress without the added advantage of heavier artillery. By turn seven the Germans are still within range of the objectives, but are making no progress. Finally able to unpin the 2nd and 3rd infantry zugs, they move up to assault the American 2nd para platoon on the bridge.
 Reminiscent of Burnsides' bridge the Germans swarm across the span and assault the Americans. This does not go well. The assault rushes back and forth for a few rounds as there isn't room on the bridge to get many teams to attack. In the end, the German assault is routed though the Americans also lose 4 rifle/MG teams. Fearless Veterans don't route though, which is more than the Confident Veterans of the 91. Luftlande Division can say.
  The Americans move over the bridge to consolidate their victory.
  The next turn the Americans continue their advance and assault into the remaining German infantry zug near the bridge. This is also bloody (for the Germans anyway). The Germans rapidly lose half their strength and rout, leaving no one near the objectives to contest them. The 1st infantry zug won't unpin and the MGs are too far away. The Americans win again.
 Another defeat for my forces. Fearless Veterans are just miserable to dislodge in hedgerows. I could have moved my MGs up a bit closer to lose the greater than 16" firing penalty and I should have maneuvered my forces a bit better to make room for the sniper, but the main problem was just not being able to make firepower checks to kill anything I hit. Herr Hauptman may have earned an Infantry Ace skill, but he probably doesn't deserve it. The US commander will get another skill, which he probably doesn't need given his opponent.
The last game will feature another round of reinforcements up to 900 points on each side. I am going to shift the terrain a bit to give the Germans a little more room to maneuver. I even hear the resolute men of the 100. Panzer Ausbildungs und Ersatz Abteilung may make an appearance as the Germans shift their schwerpunkt. If they can get their Panzers running, which is always a good question.


1 comment:
Excellent AAR and photos. Great narrative, if a little disheartening. The decision to brave moving up the HMGs to short range is always a tough one. Sometimes it is a game winner and sometimes you just get chopped up.
Keep them coming!
Post a Comment