We used the Infantry Aces construct from the latest Battlefront missive, Cassino, as the forcing function for the size of the scenarios. This method has one start out with 500 point forces, then escalates to 700 and then 900 points. This increase allows one to replicate the initial US paratrooper invasion as the paratroopers were spread to hither and yon and took some time to mass their forces to attack their objectives. As time went on, more "lost" soldiers found their way back to their units. On the German side, the initial response was confused as senior leaders were away on wargaming business (how ironic!) or killed in the early hours of D-Day, limiting the command and control of the available units.
Our first game (500 points) thus had a US Paratrooper force with one full strength platoon and one reduced strength (with 2 squads) up against a full company of Germans with 3 infantry platoons and a MG platoon under the always intrepid Hauptman Cothen. We played the Seize and Hold mission from D-1 as a suitable scenario to show the early attempts of the American paras to take some of the bridges over the Douve River to protect the flank of the invasion.


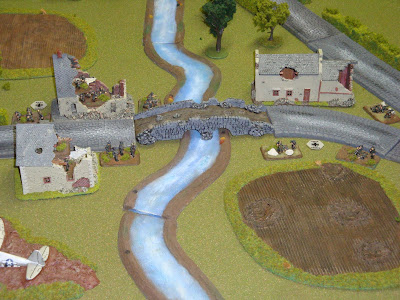
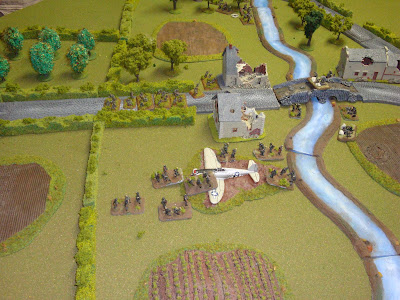
The Germans put the 1st infantry zug and the MG zug around the main bridge. The P-47 has made a crash landing as an objective, only to lose that status before the game begins. The other bridge is unguarded which is going to hurt really soon. The Company commander and 2IC also mass at the bridge and have a large draught of schnapps. Invasion? What me worry?
 German units begin the game pinned for the mission. It is also night as the game begins.
 Its a race for the bridge as the 1st infantry zug leaves the warm cover in the bombed out houses and moves to contest the rapidly moving US paras. The German MGs did in around the bridge. Herr Hauptman Cothen remains pinned despite his orderly's frantic attempts to wake him up.
 German reinforcements arrive as daylight breaks. Herr Hauptman is still trying to find his boots and remains pinned.
 Germans and US paratroopers begin to contest the bridge with a drawn out firefight. The Americans score a lot of hits but the Germans save rolls are amazing.
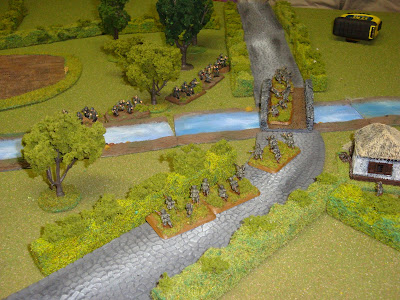
 The 2nd para platoon figures out that attacking the bridge against a German MG platoon may be costly and moves across the hedgerow to support the 1st para platoon.
 Achtung! More German reinforcements arrive. The 3rd infantry zug moves in to surround the Americans.
 The 2nd US para platoon gets fire from the MG platoon, the now functioning (barely) German SMG command teams and even the 1st infantry zug at the contested bridge.
 The 2nd para platoon loses 5 stands, takes a morale check, fails and routes. The Germans at this time have lost only 1 stand. Visions of victory (somewhat hazy to be sure, as Herr Hauptman is still moving slowly and has his boots on the wrong feet) dance through the German commander's head.
 The US commander encourages his soldiers to fight on even as it looks like the bridge is becoming an 'Alamo' type engagement and he isn't a Mexican.
 Things are looking good for the Germans. All three infantry zugs are firing at the Americans or moving up to contest the objective. The MG platoon fires at the paras from the other bridge.
 . . . and then, things begin to go wrong. The 1st infantry zug loses another stand and has to make a morale check which they fail and rout off the table, leaving no one to contest the objective. The Americans, having lost only three stands are now starting to even up the fight. The 3rd infantry zug bounds across the fields to get close enough to assault. Its desultory fire manages to pin the paras as it bounds up to the hedgerows.
  The confident grenadiers go over the top and promptly fail to kill a single para stand, which is really unfair.
 Failing their stormtrooper movement, the 2nd infantry zug cannot contest the objective. The Americans win!


5 comments:
Excellent AAR!
Indeed, enjoyed this AAR immensely. Don't worry, the Germans will get em next time! :)
When you said the Paras doubled to the bridge, you didn't mean move At The Double, did you? Night does not allow that.
Nice AAR and great terrain!
You are correct about night rules not typically allowing movement greater than 8" or movement at the double. However, in the D-1 book both US and British paratroopers can invoke the Night Training rule and move normally. Thanks for the feedback.
Post a Comment